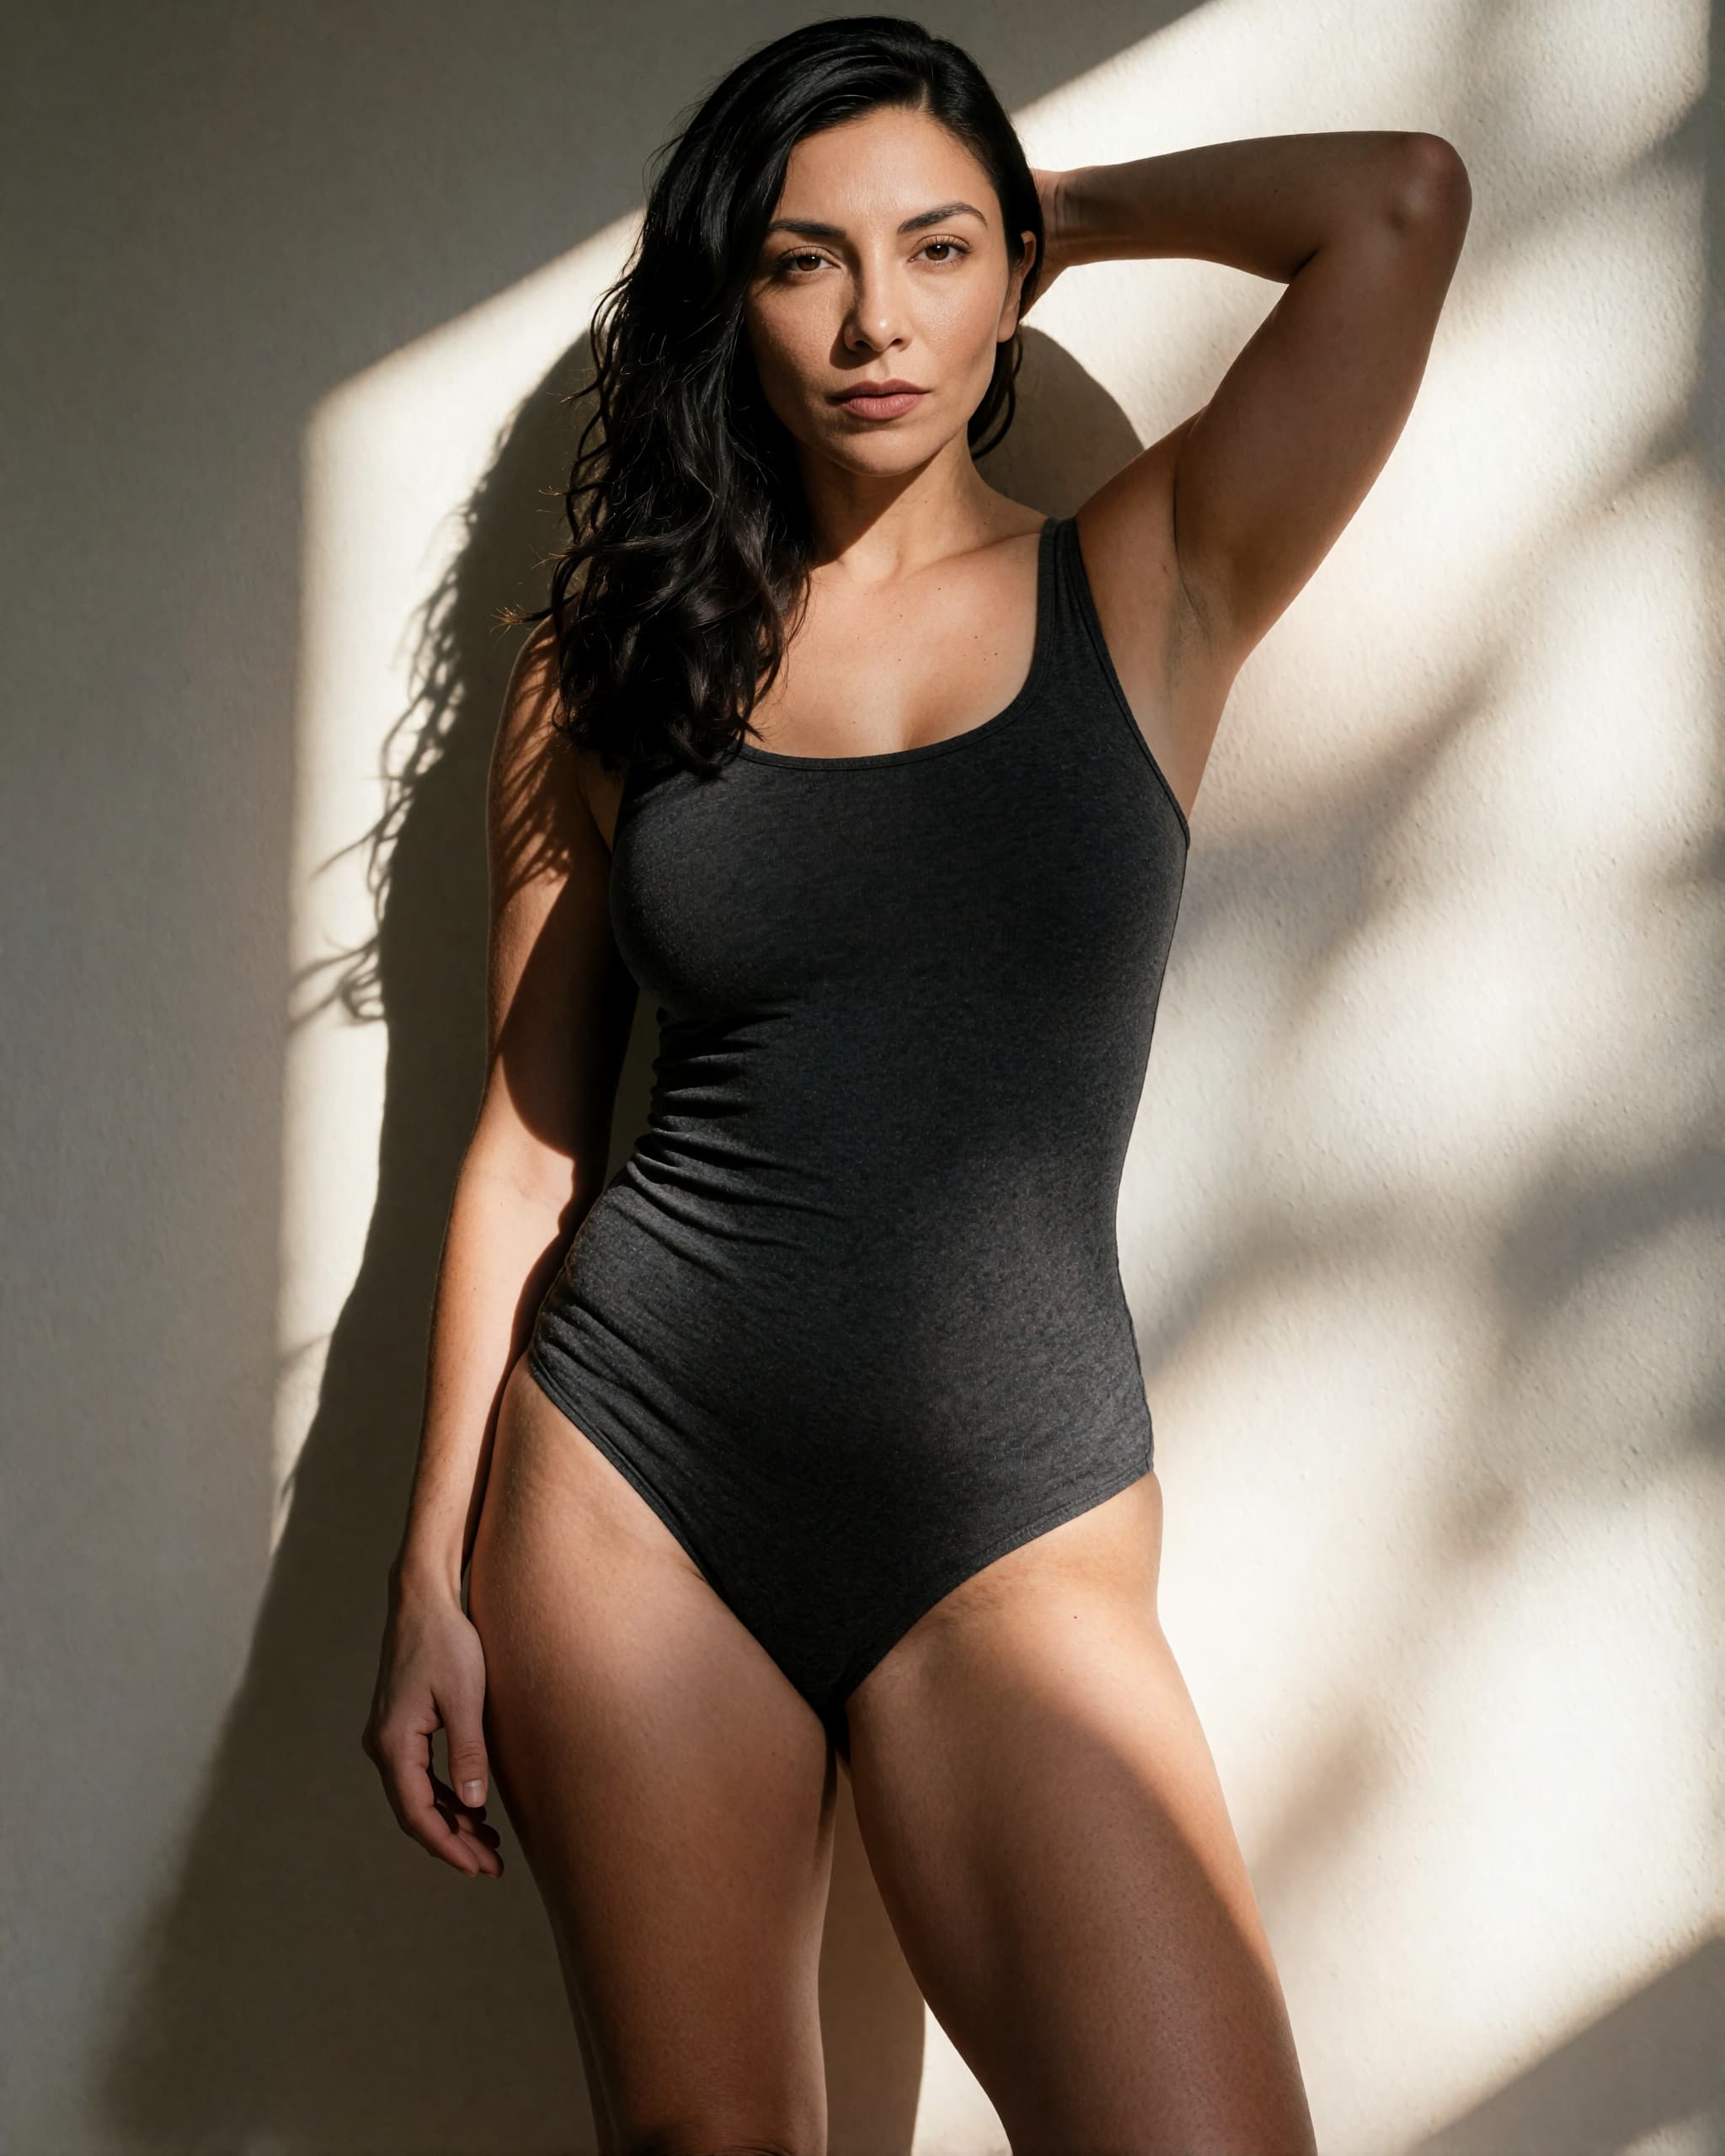
Recreate this look
Head to Camera
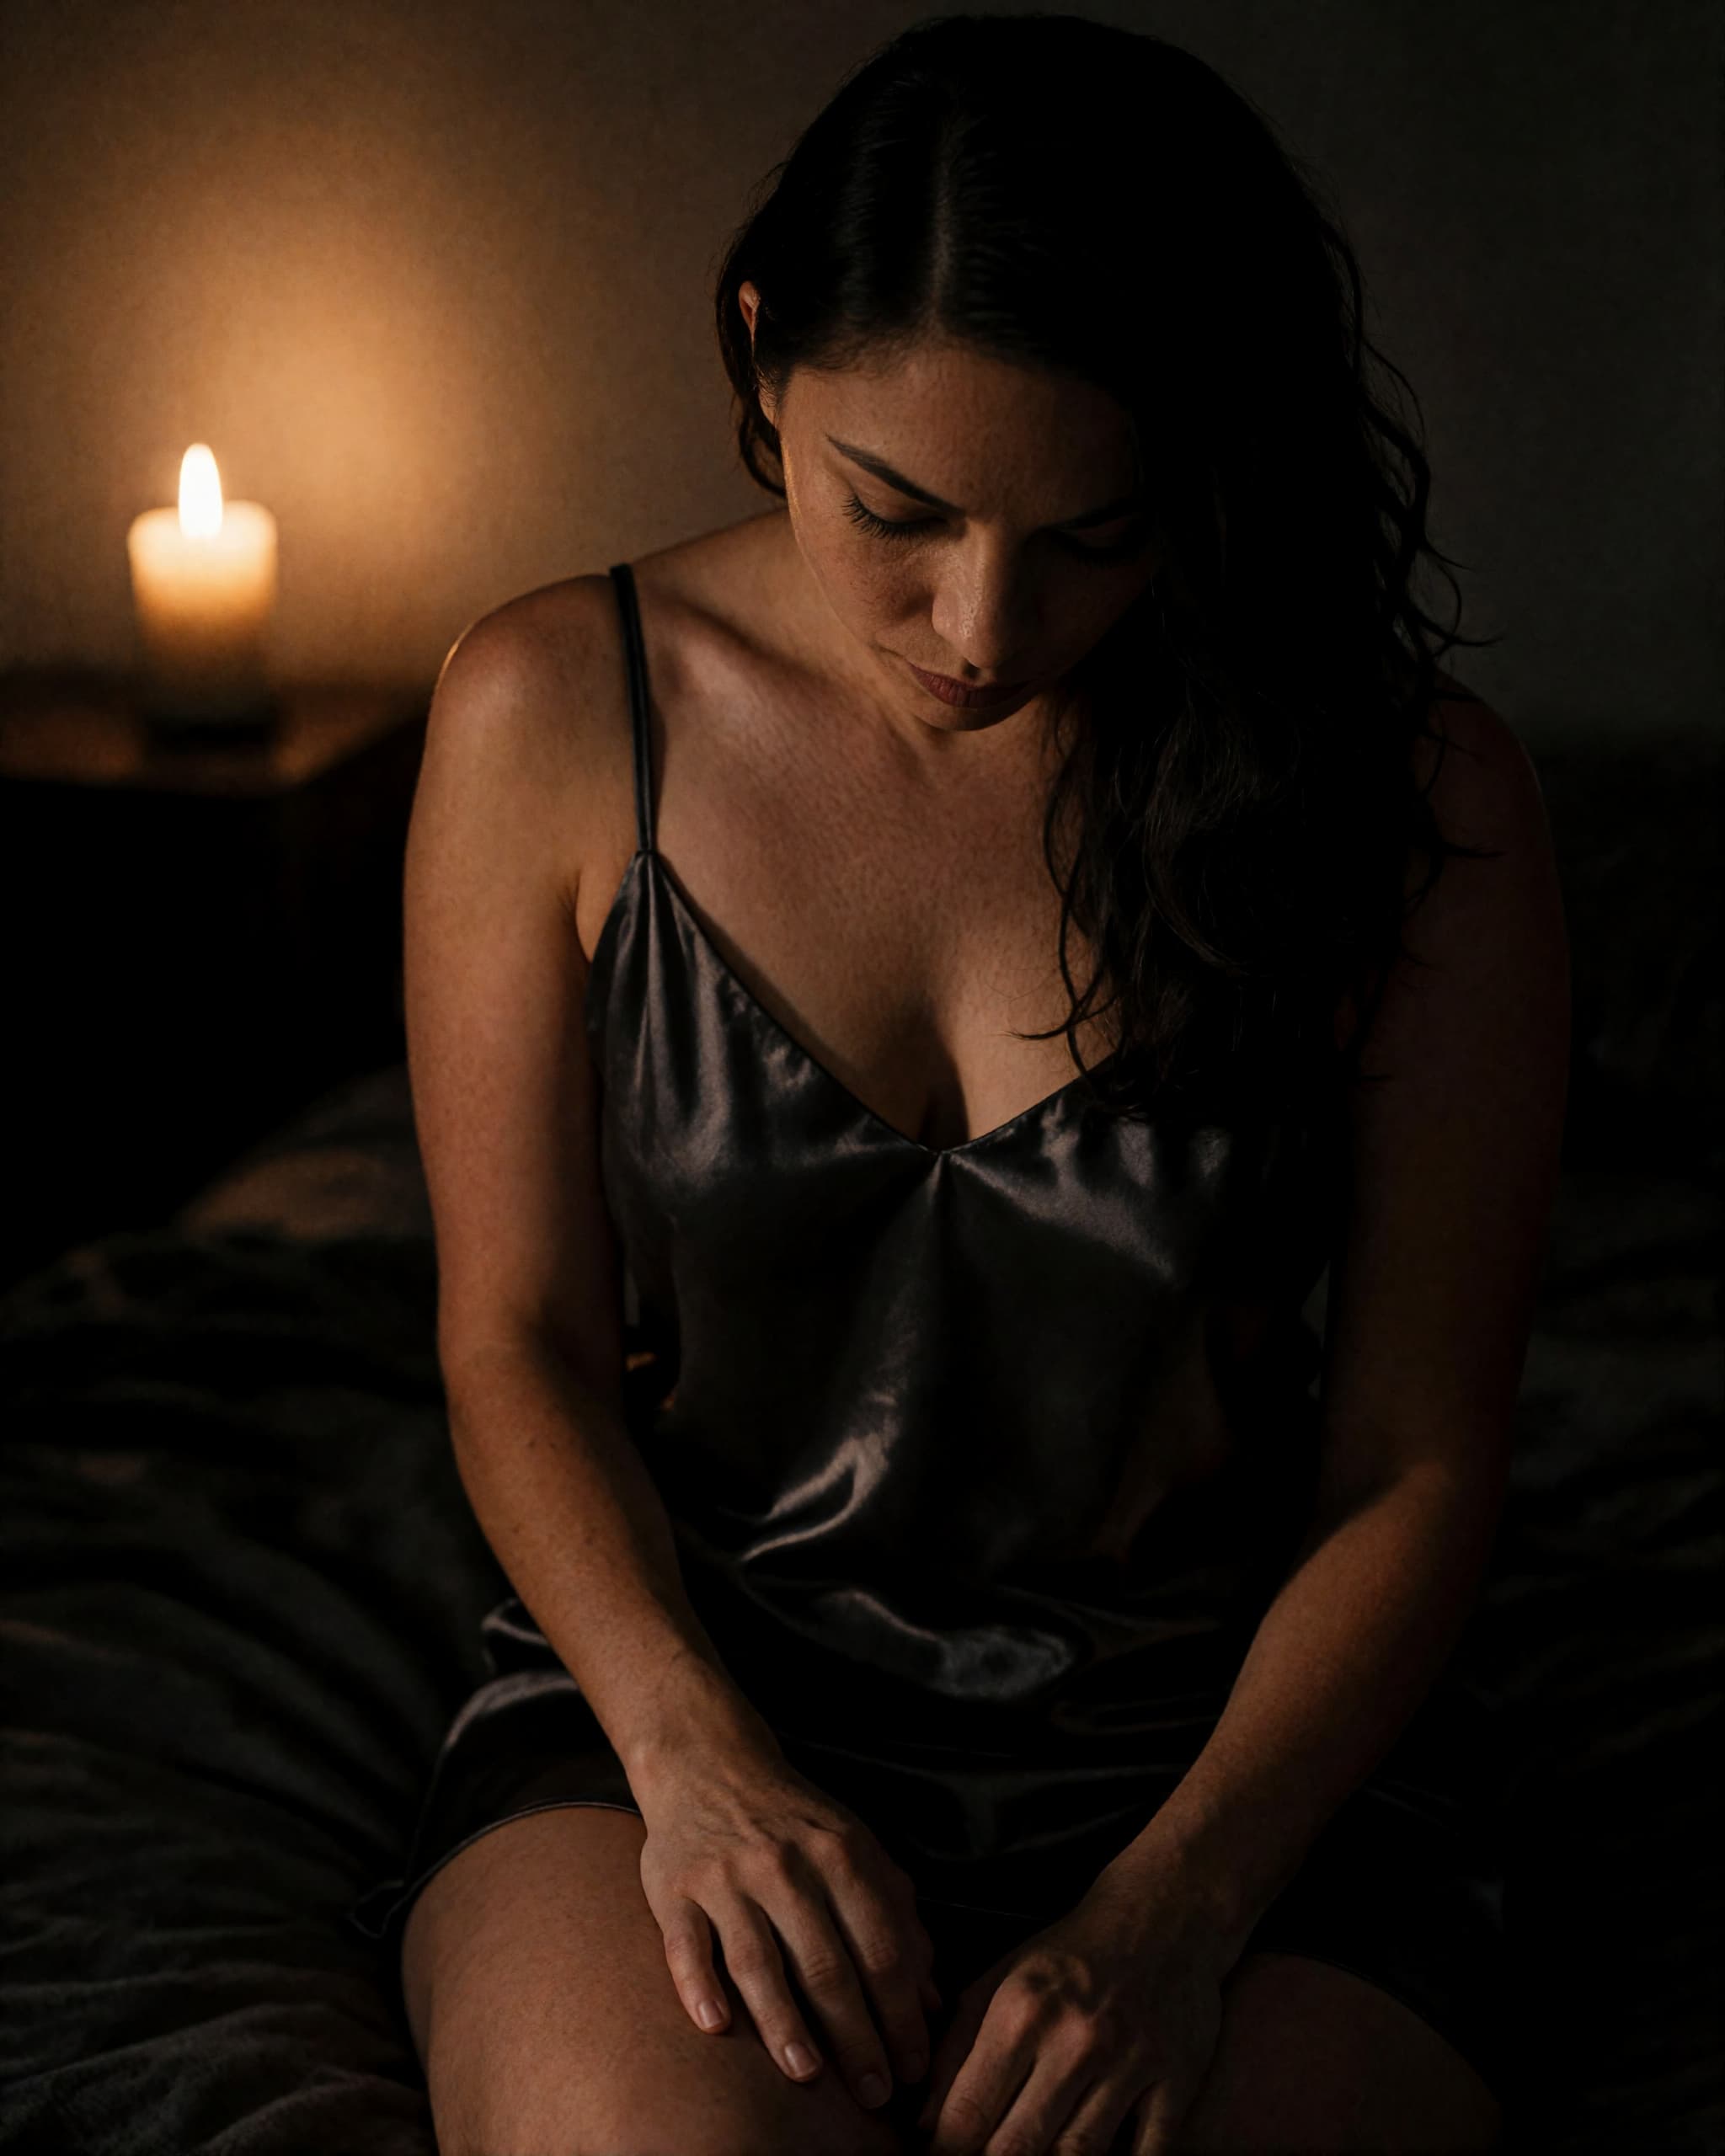
Lighting
- Choose the time first. This light is at its best mid-morning or mid-afternoon on an overcast day, bright outside with nothing casting a hard edge, so plan the session around a grey afternoon rather than waiting for sun.
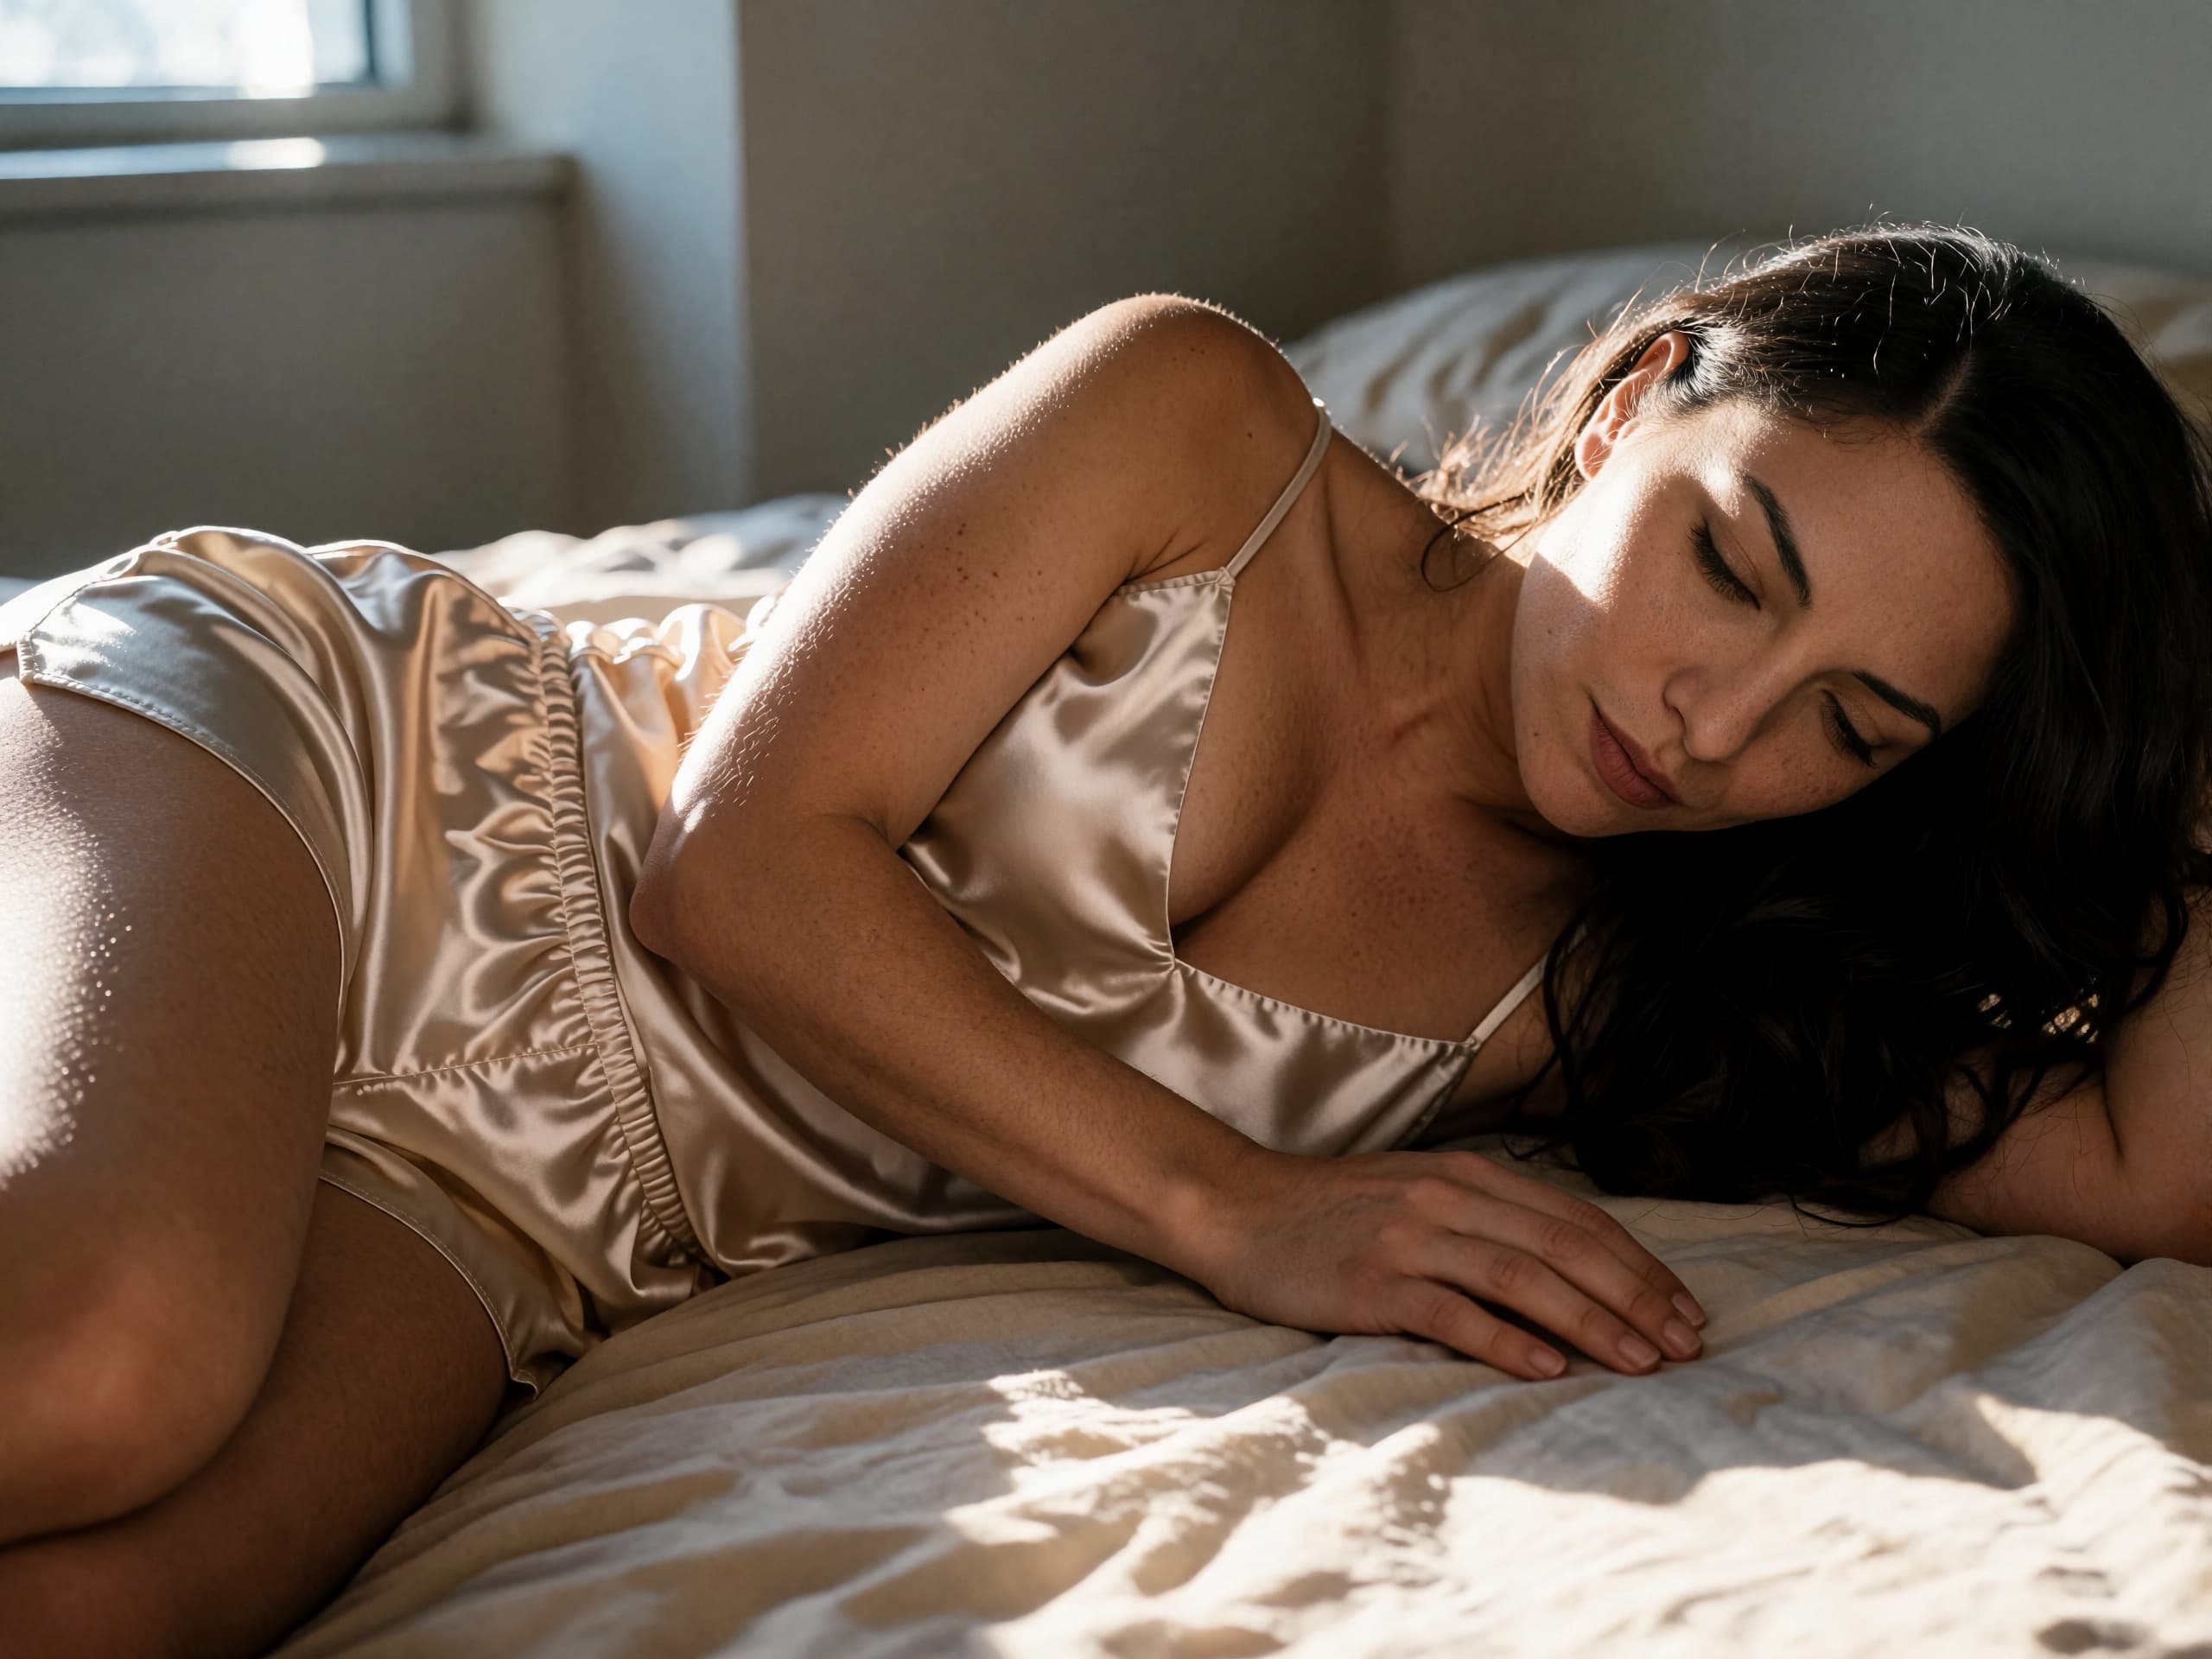
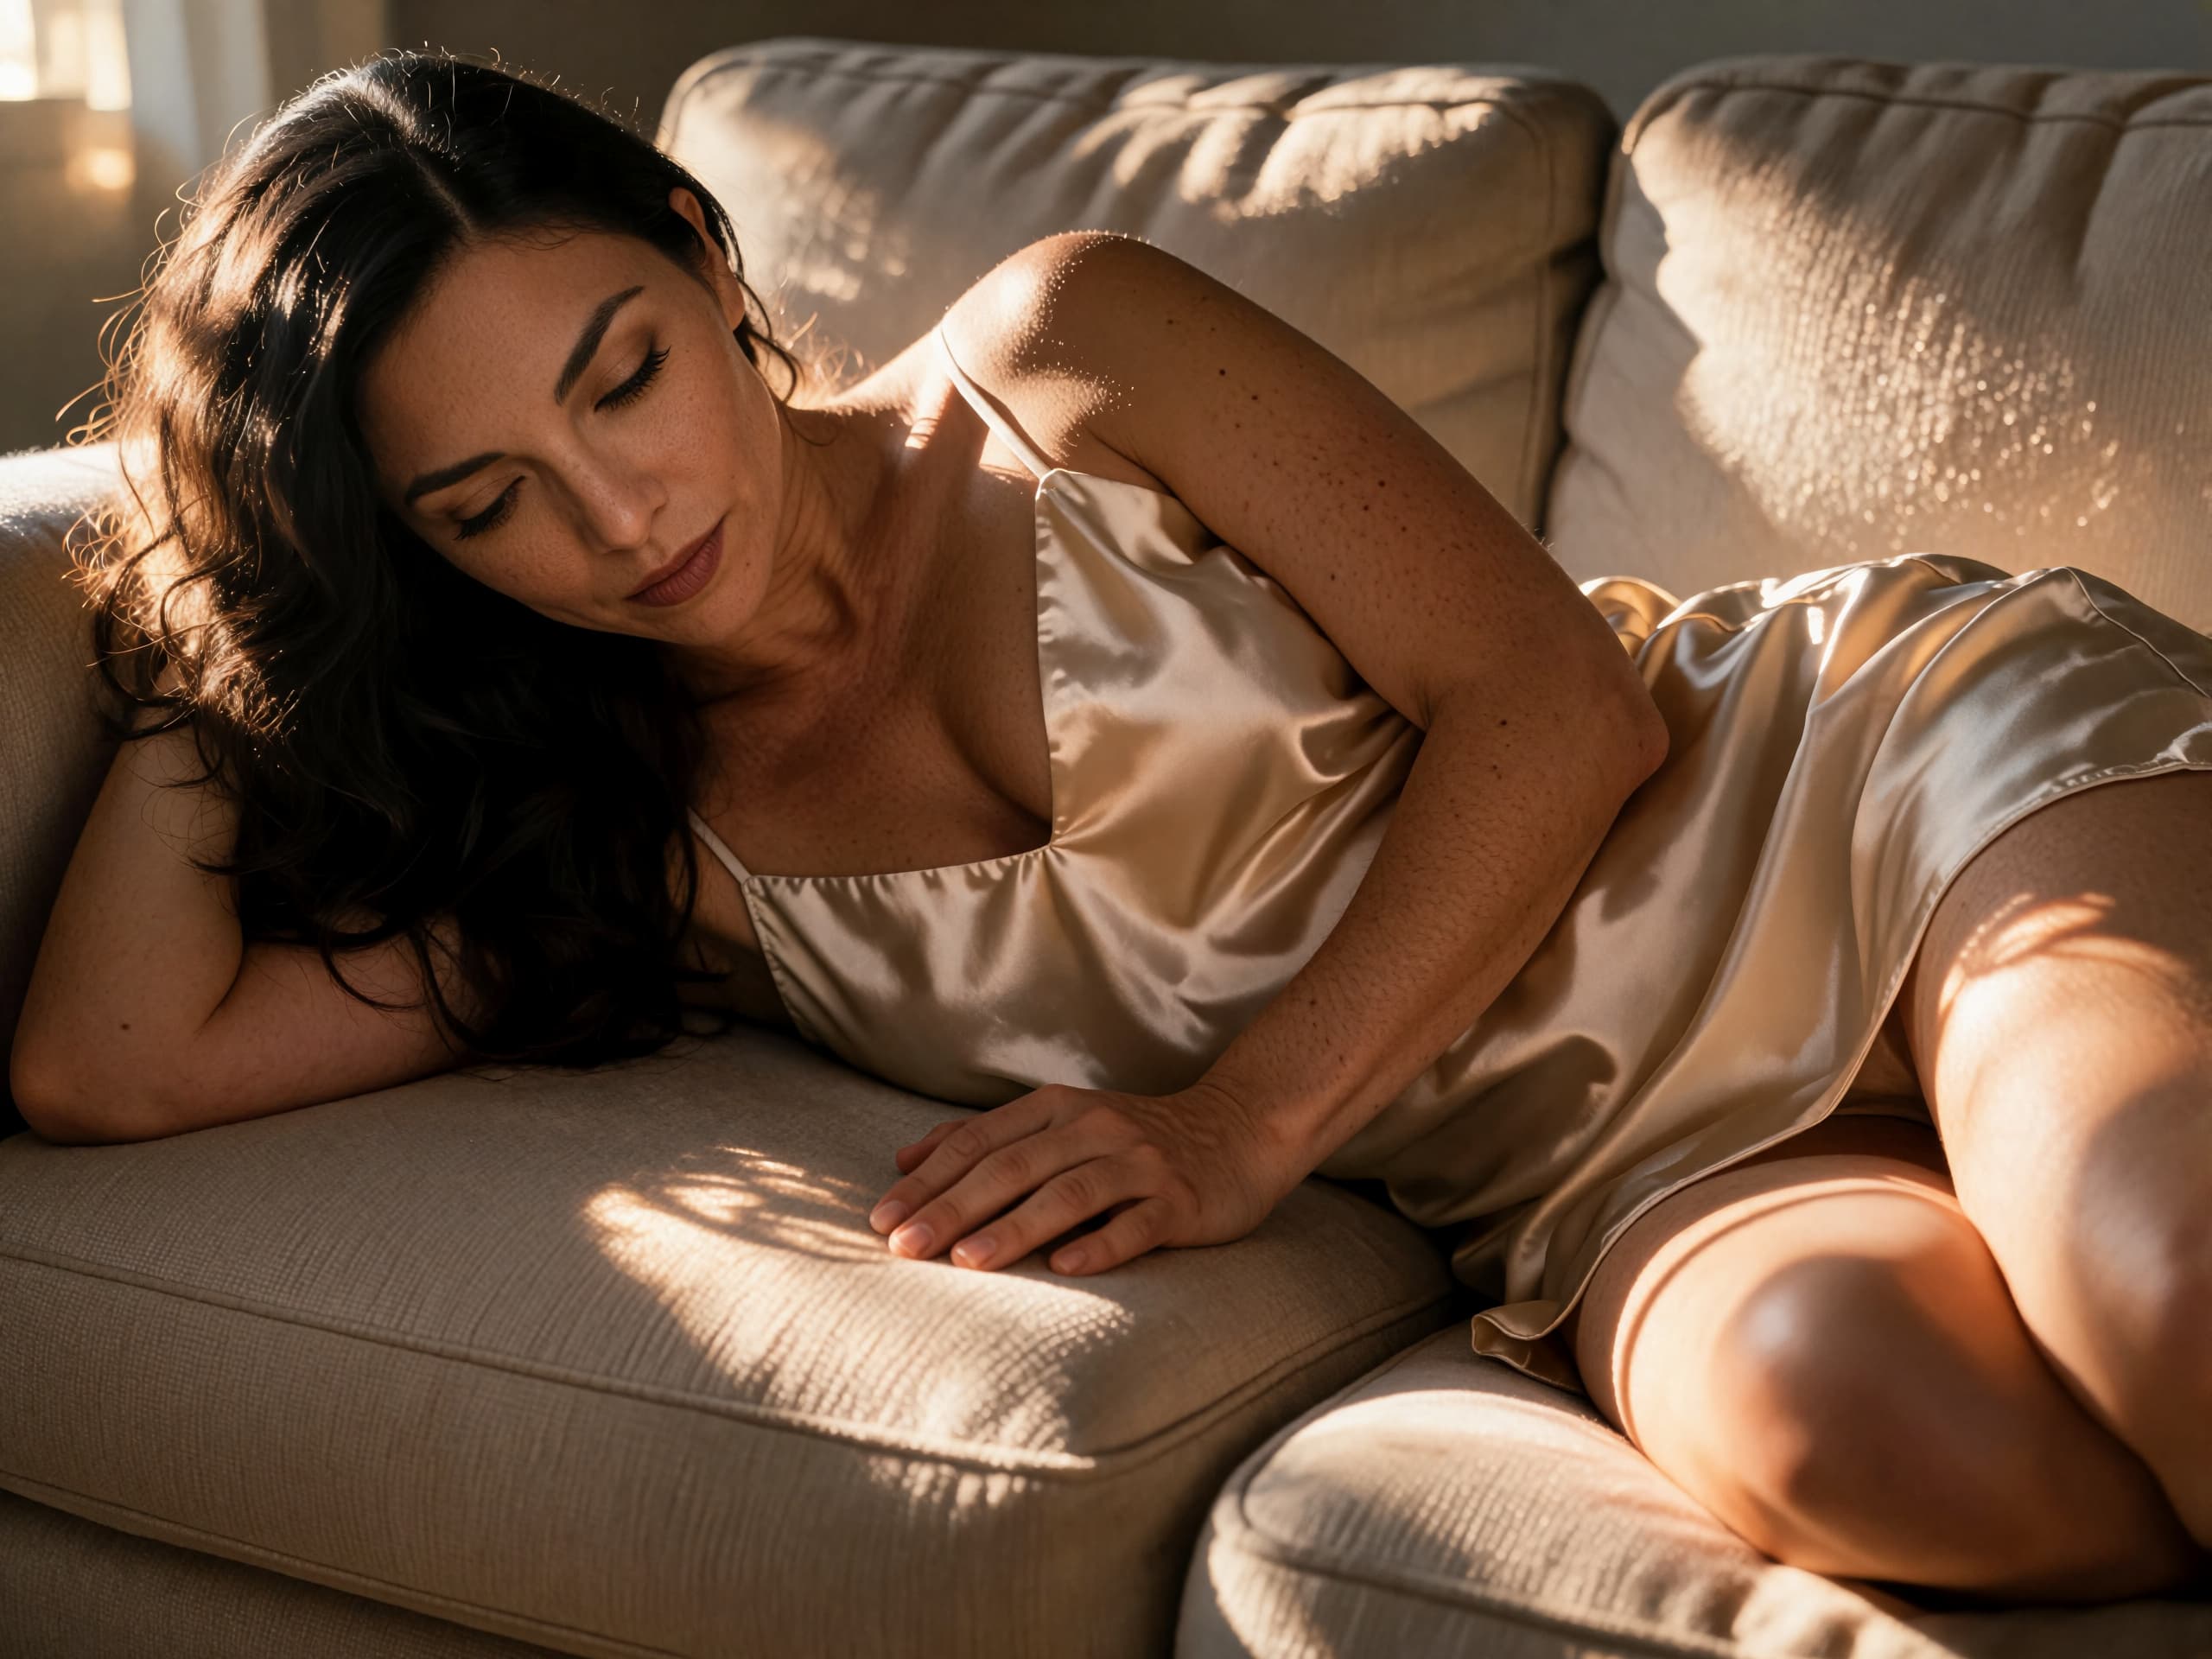
- Work beside a window with the daylight arriving across you from one side, not from behind the camera and not from directly behind you. Side light is what gives a body shape; light straight on flattens it.
- Turn every other light in the room off, including the overheads. One source is what makes the light look considered rather than accidental.
- If the sun does come in hard and direct, close a sheer curtain over it, or pin up a white bedsheet — either turns a hard beam into the soft, wrapping light you want.
- Sit or stand close enough to the window that the light clearly falls on one side of you and falls away on the other. Step further into the room and it flattens out; step right up to the glass and it gets harsh.
- Set the exposure — how bright or dark the picture comes out — off a stand-in, not off yourself: you cannot tap your own body from behind the phone. Put a cushion or a folded coat where you will be, tap the screen on its window-lit side, then drag the slider that appears beside your finger down a touch. Slightly under is the safe direction — a soft shadow can be lifted afterwards and a blown-out highlight cannot.
Posing
- Lie on your side rather than flat on your back, and prop yourself up on the lower forearm so your upper body lifts clear of the surface. Propped rather than flat is the single most important choice in this family — a flat body makes a flat frame, and the forearm is what lifts the ribs clear so the line from shoulder to hip has a curve in it again.
- Stack your hips one above the other and square them up, then draw the top knee forward over the lower leg. Stretch the lower leg long. That combination is what draws the long line from ribs to hip across the frame.
- Keep the ribs doing the lifting. With the forearm holding them clear and the hip settled, a natural hollow opens between the two, and that hollow is what a reclining frame is built on — let the weight sink back down and the frame loses it.
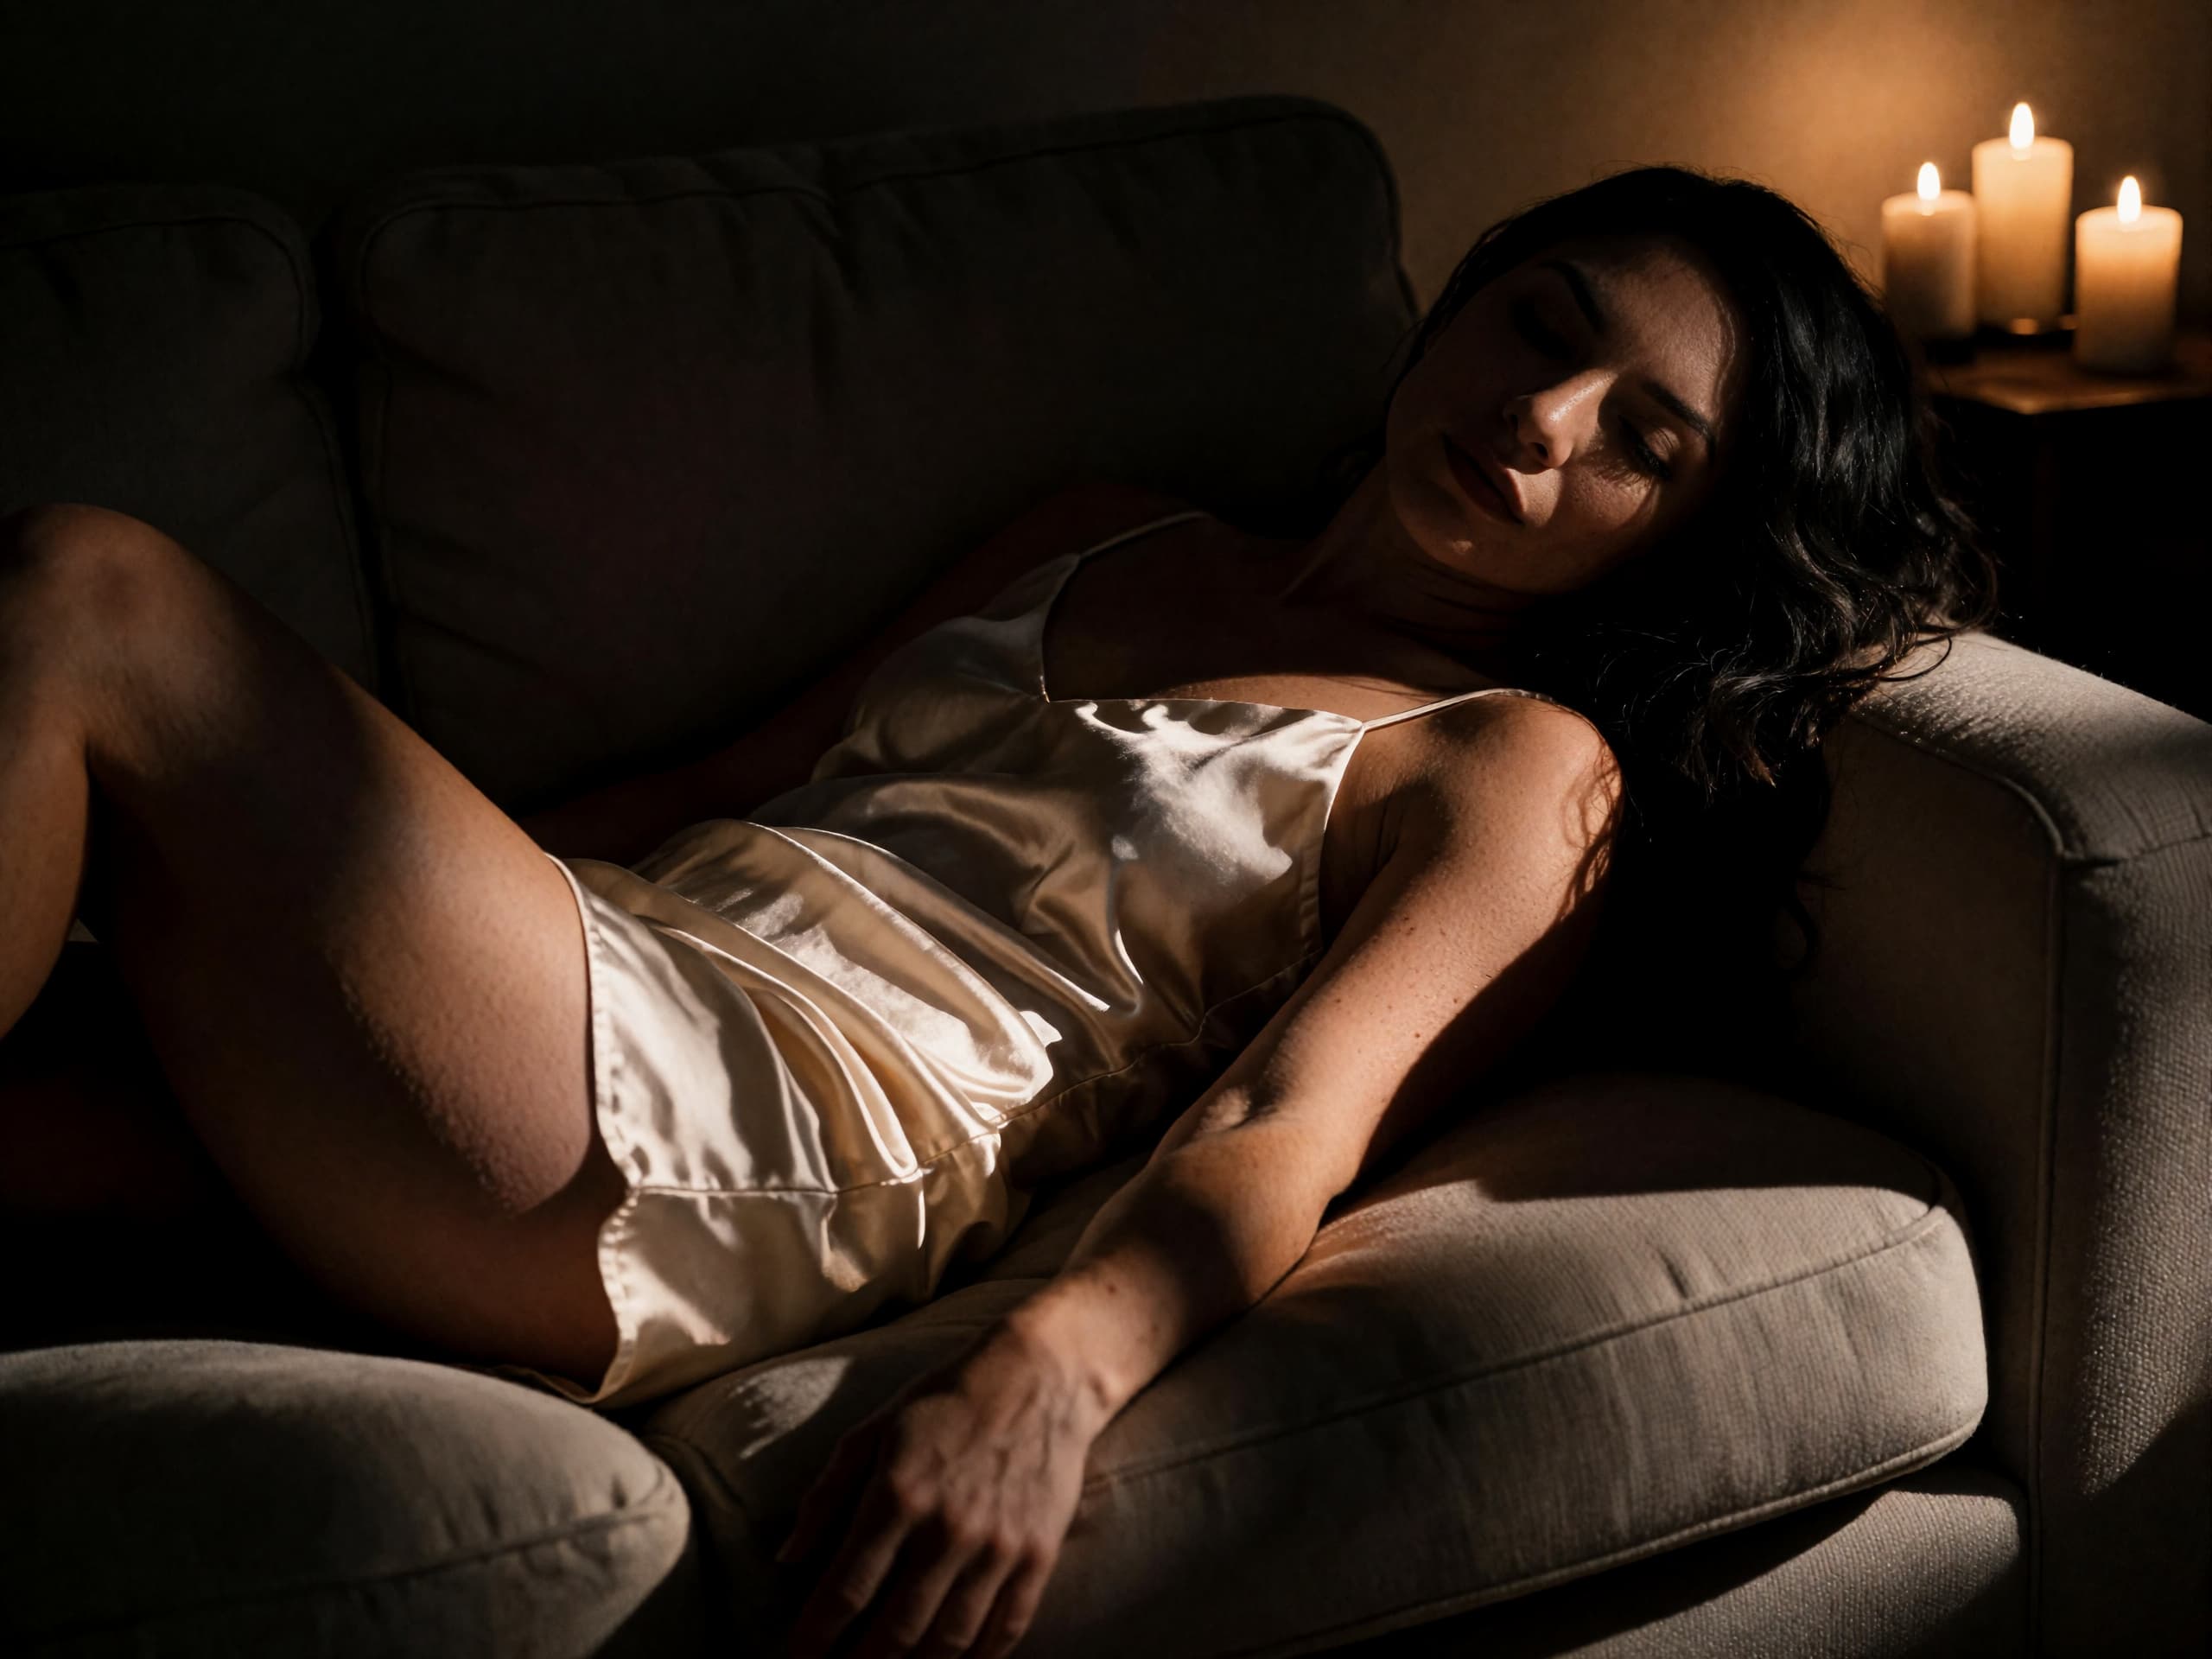
- Keep one knee raised. A reclining frame with both legs lying flat and parallel goes lifeless, and a single lifted knee is what keeps it alive.
- Take the weight on the forearm and not on the wrist or the elbow point. If it starts to ache, slide a folded towel or a pillow underneath — it will be out of frame and you will hold the pose far longer.
- Give the free hand somewhere to go: resting on your stomach, tracing the line from waist to hip, reaching up into your hair, trailing over the edge of the bed. Never leave it lying loose in the middle of the frame.
- Lengthen your neck away from the shoulder and lift your chin a little off your chest. Lying down shortens the neck by default, so this one has to be deliberate.
- Spread your hair deliberately — fanned out behind you, swept over one shoulder, or falling forward across your face if you would rather not be recognisable. Hair trapped underneath you flattens the whole frame.
- Arrange the sheet, throw or robe before you settle, not after. Tuck it where you want it, check the edge falls in a line you like, and then get comfortable; adjusting a drape while lying down always pulls the rest of the pose apart.
- If you are lying back rather than on your side, tip your head back over the edge of the bed to open the throat, and keep one knee raised. Only try this once you are warmed up — it takes a little trust to let your head go.
- Breathe out as the picture is taken, and let the smile or the softening arrive on the exhale rather than being held from the start.
- Shoot a run, then change one thing — roll a shoulder forward, swap which knee is raised, move the free hand. Reclining frames all look alike on the screen and quite different on the day, so give yourself several.
Coming with free accounts: saving this look to your favourites, dropping it straight into a shoot plan, and pose notes adjusted to your space and comfort level. Until then, the recipe above is the whole thing — print it, or keep it open on your phone. Grab the free checklist and we'll email you the moment accounts open.