Recreate this look
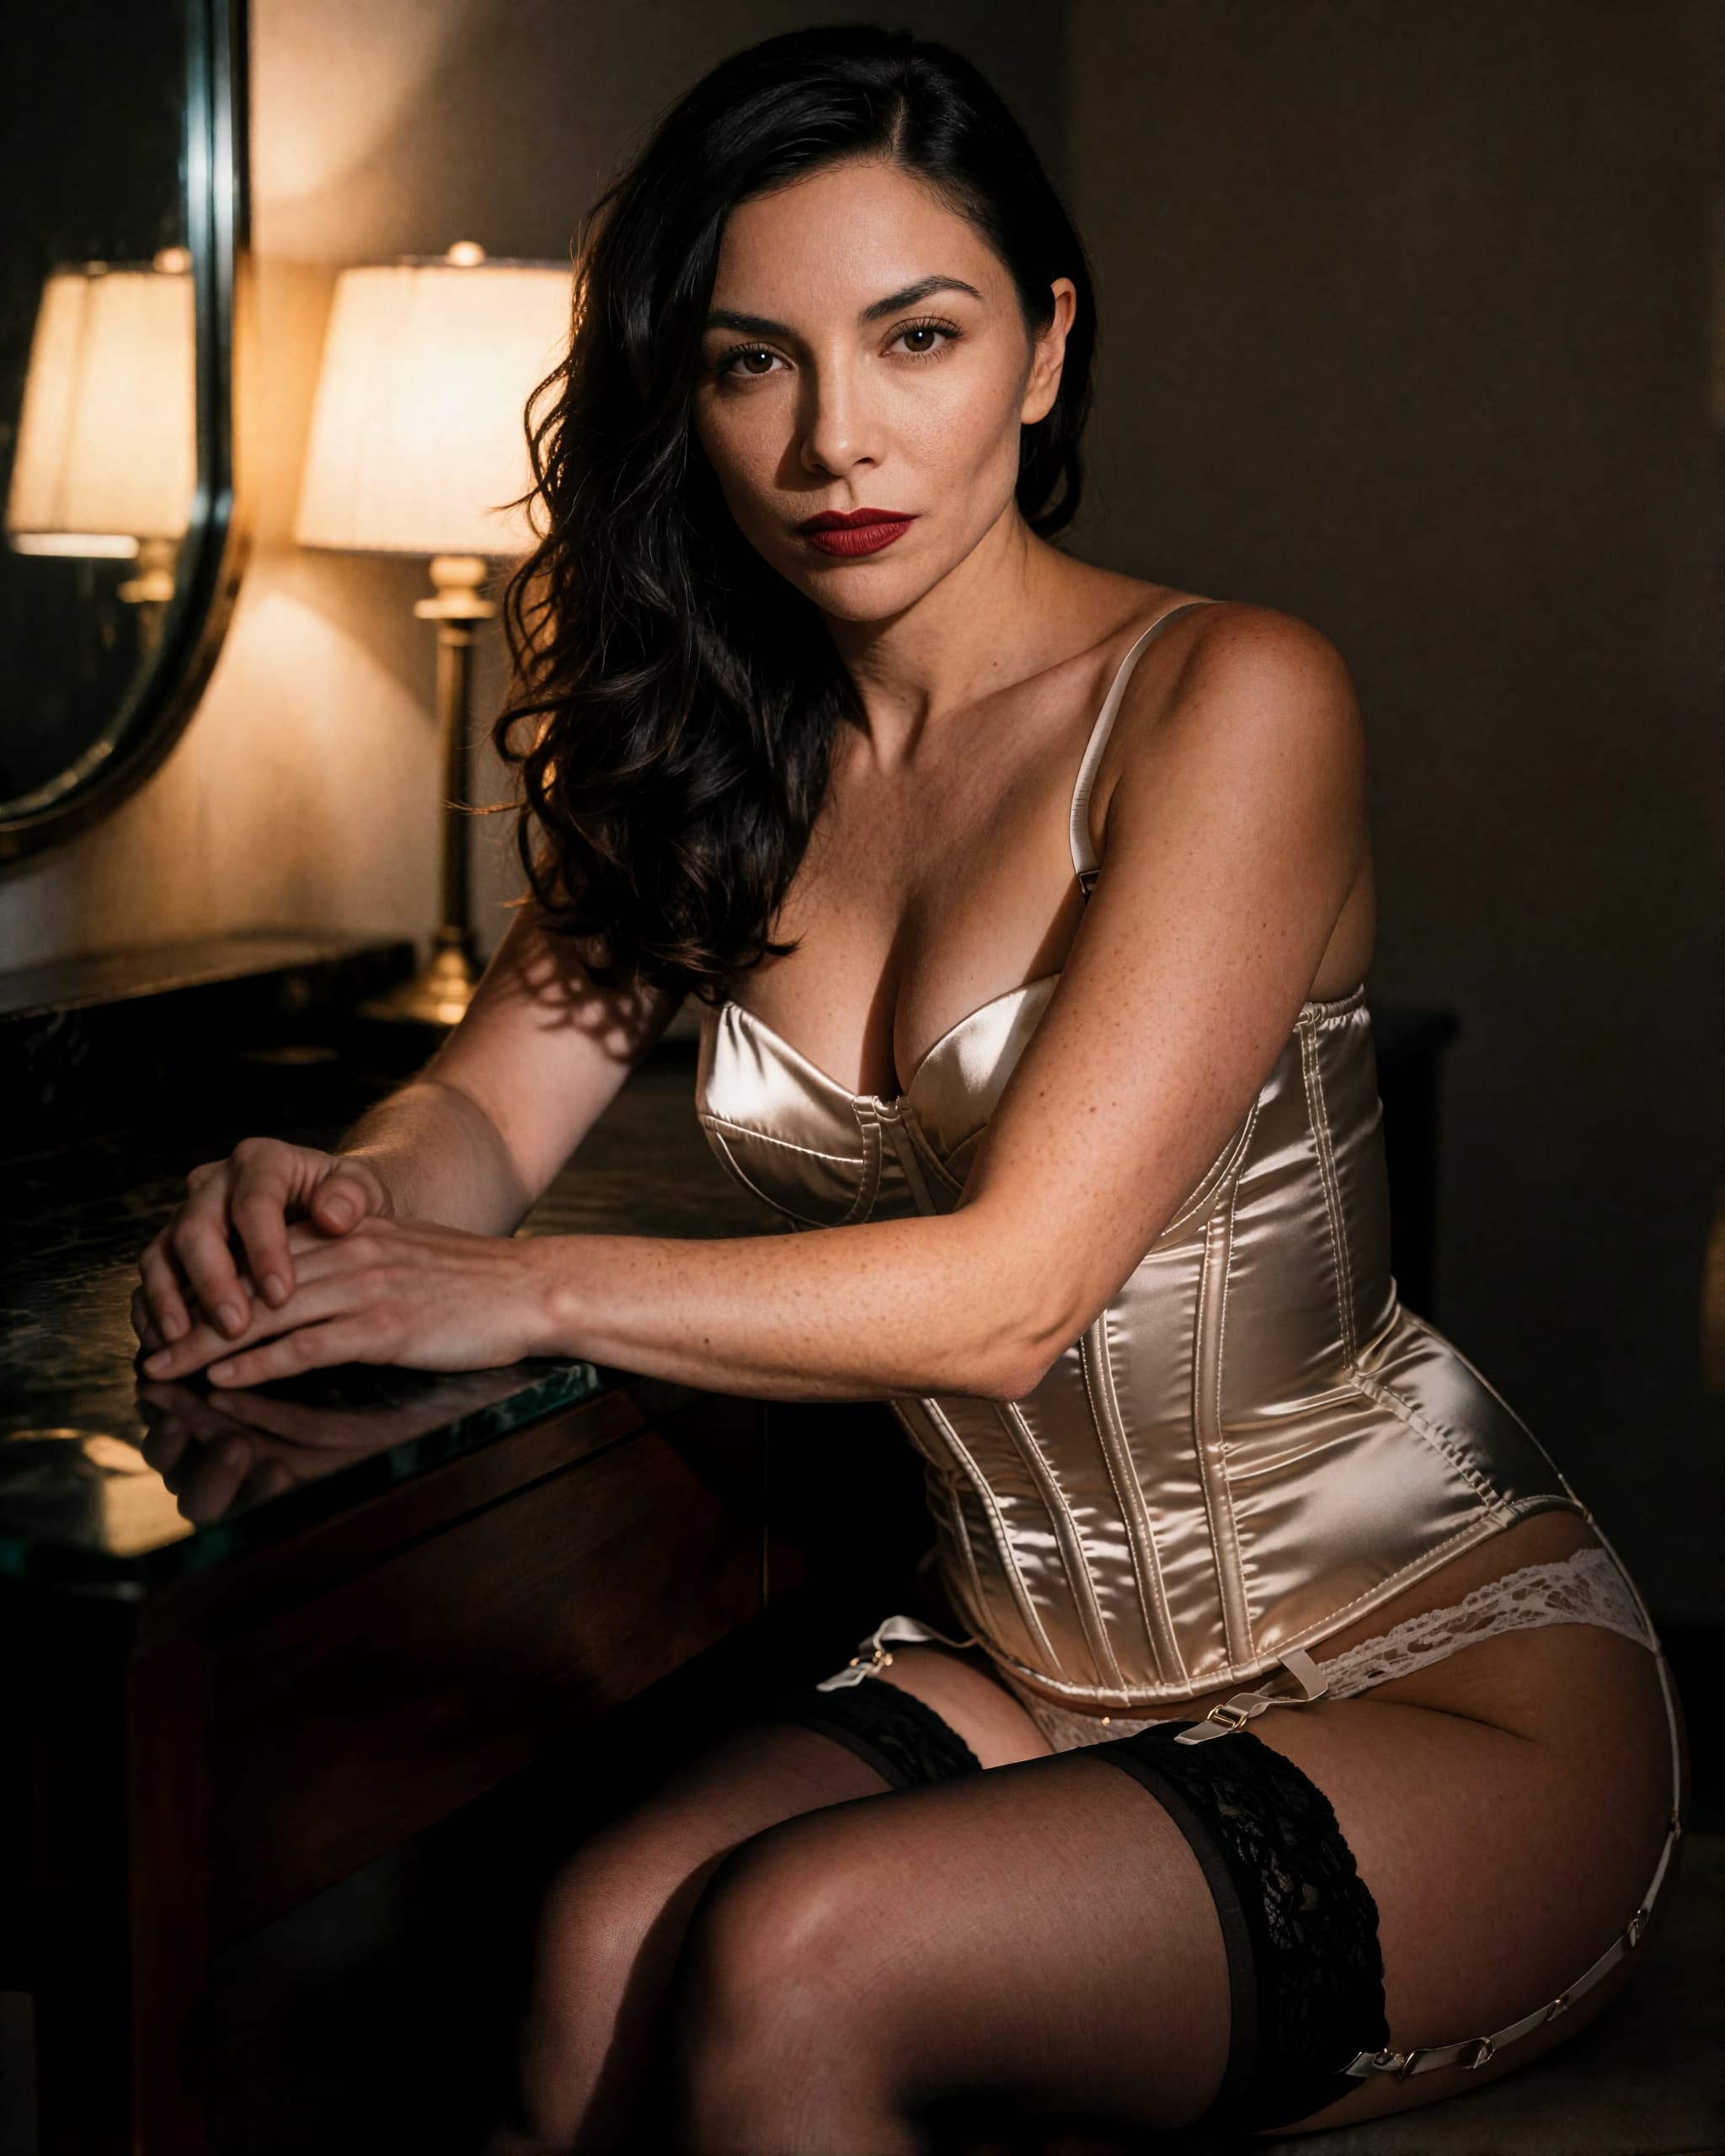
Red Lip at the Vanity
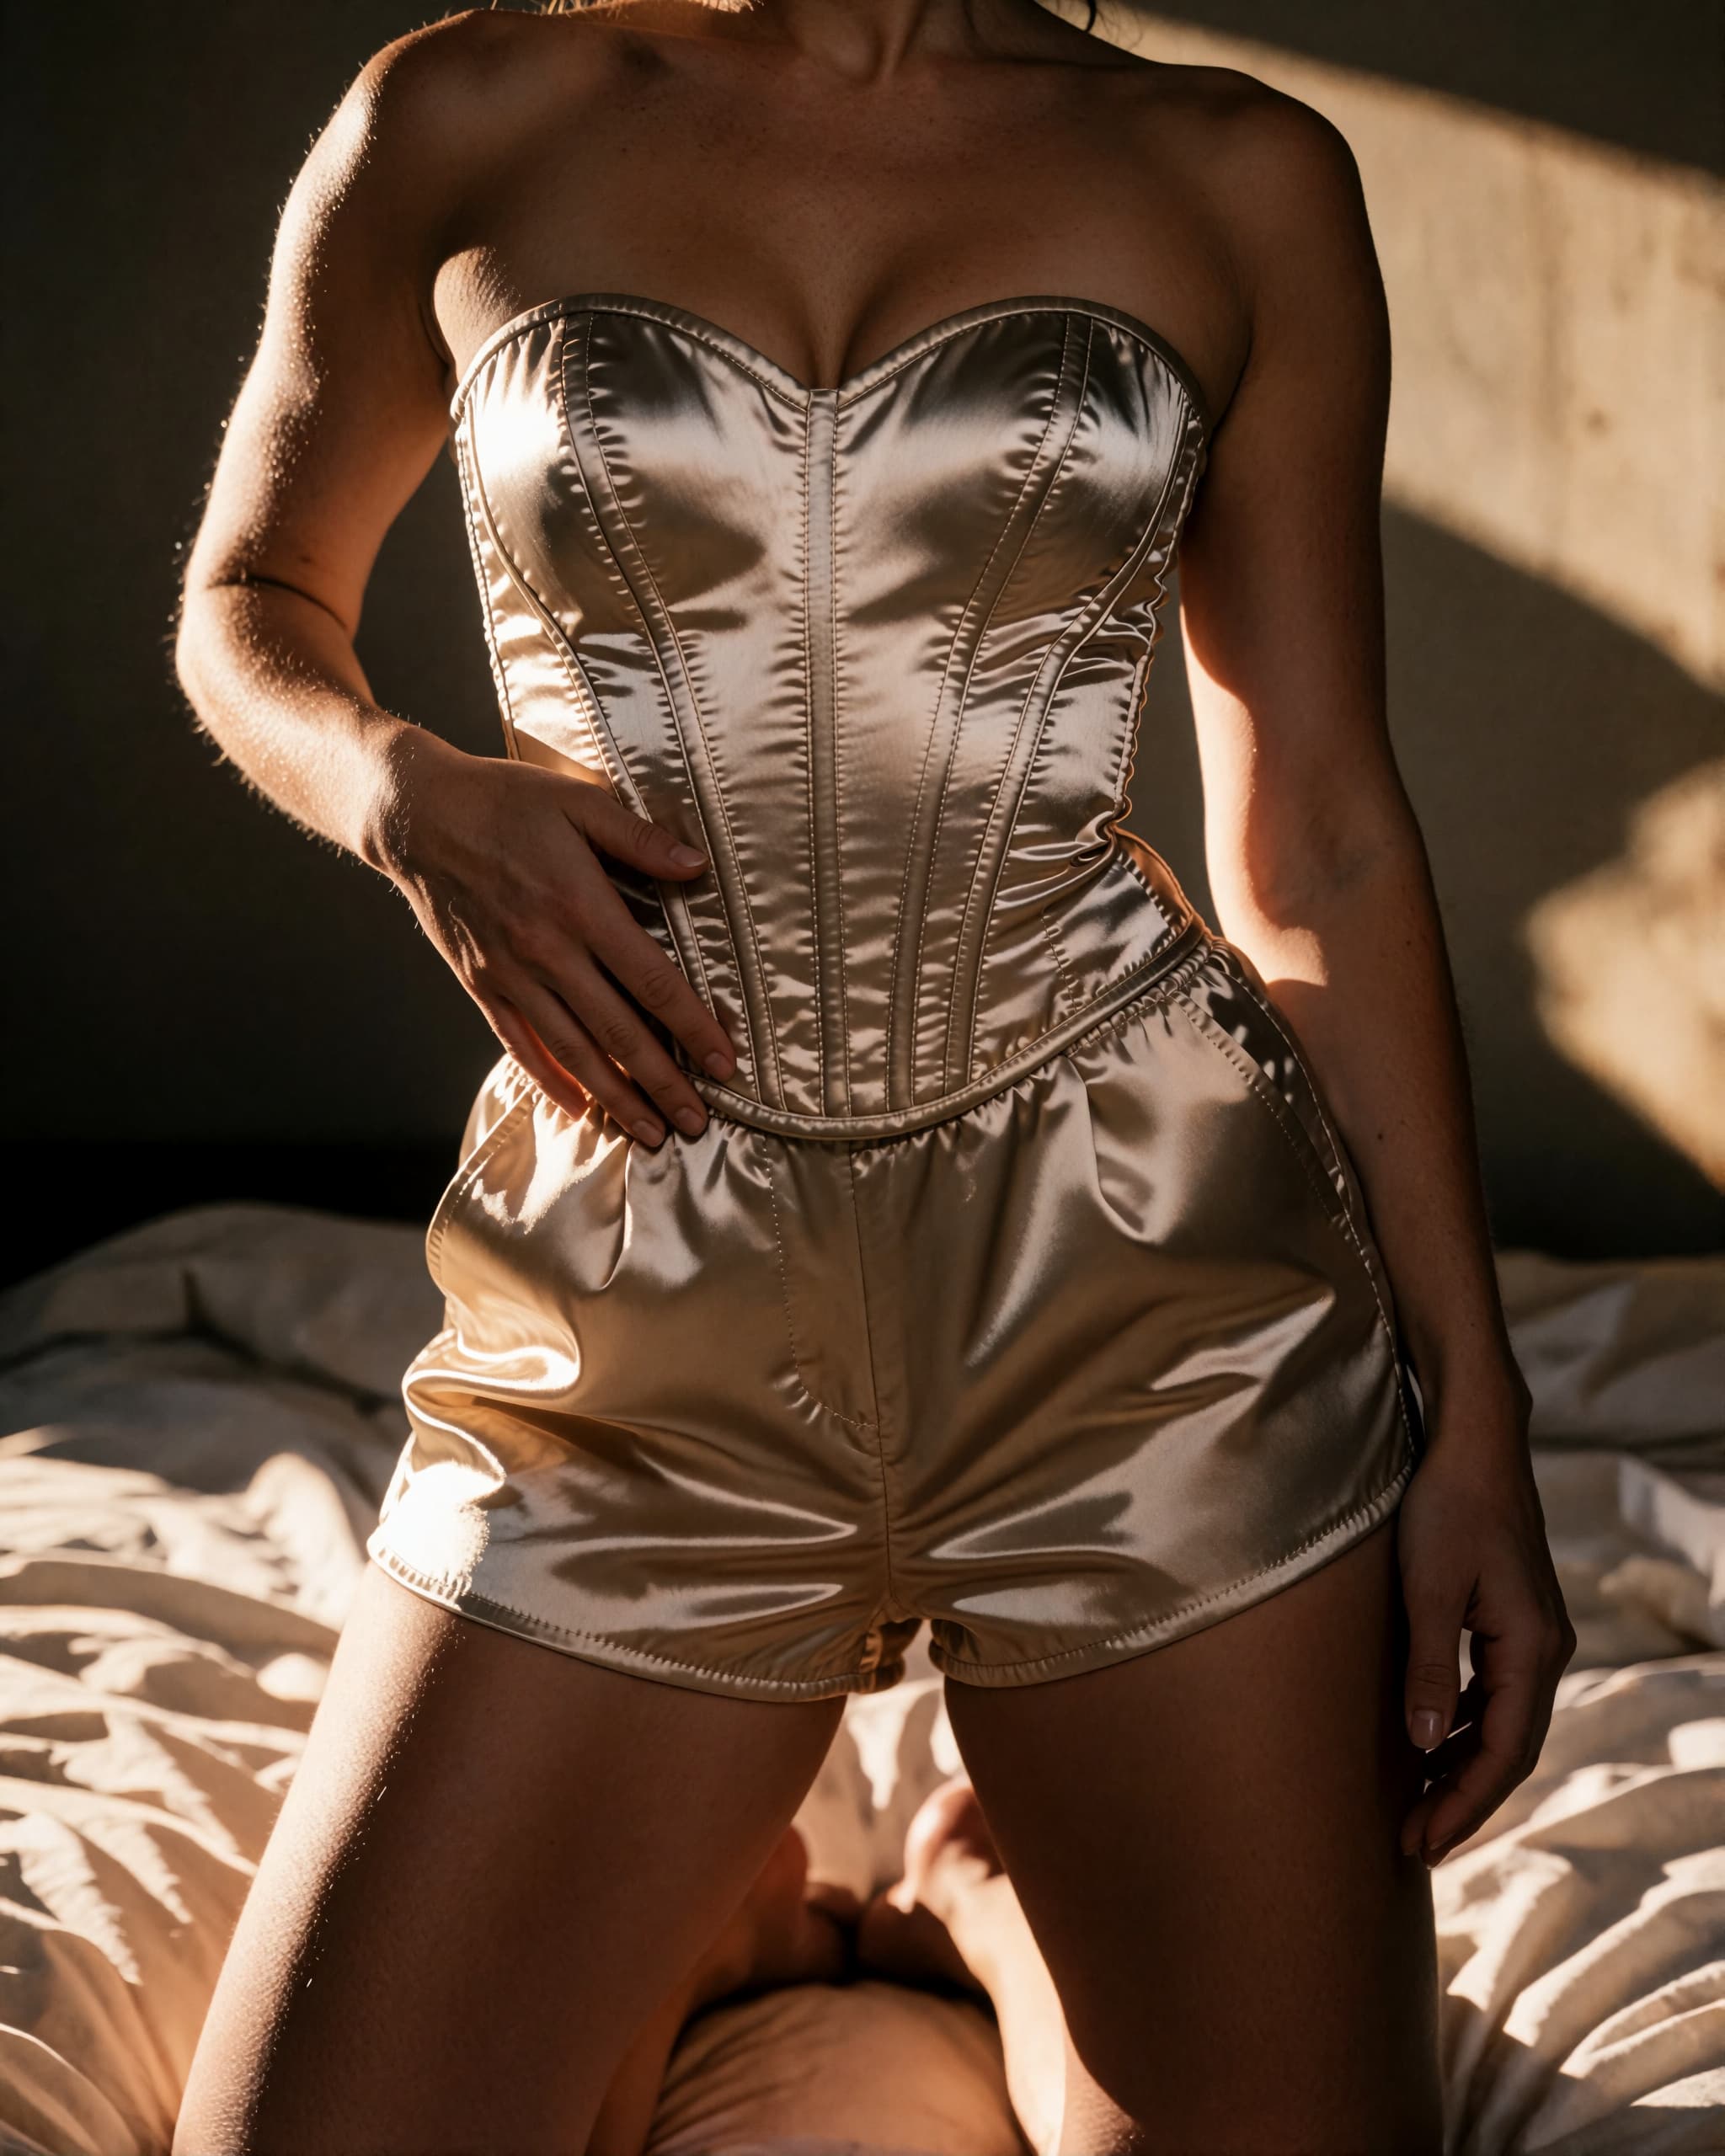
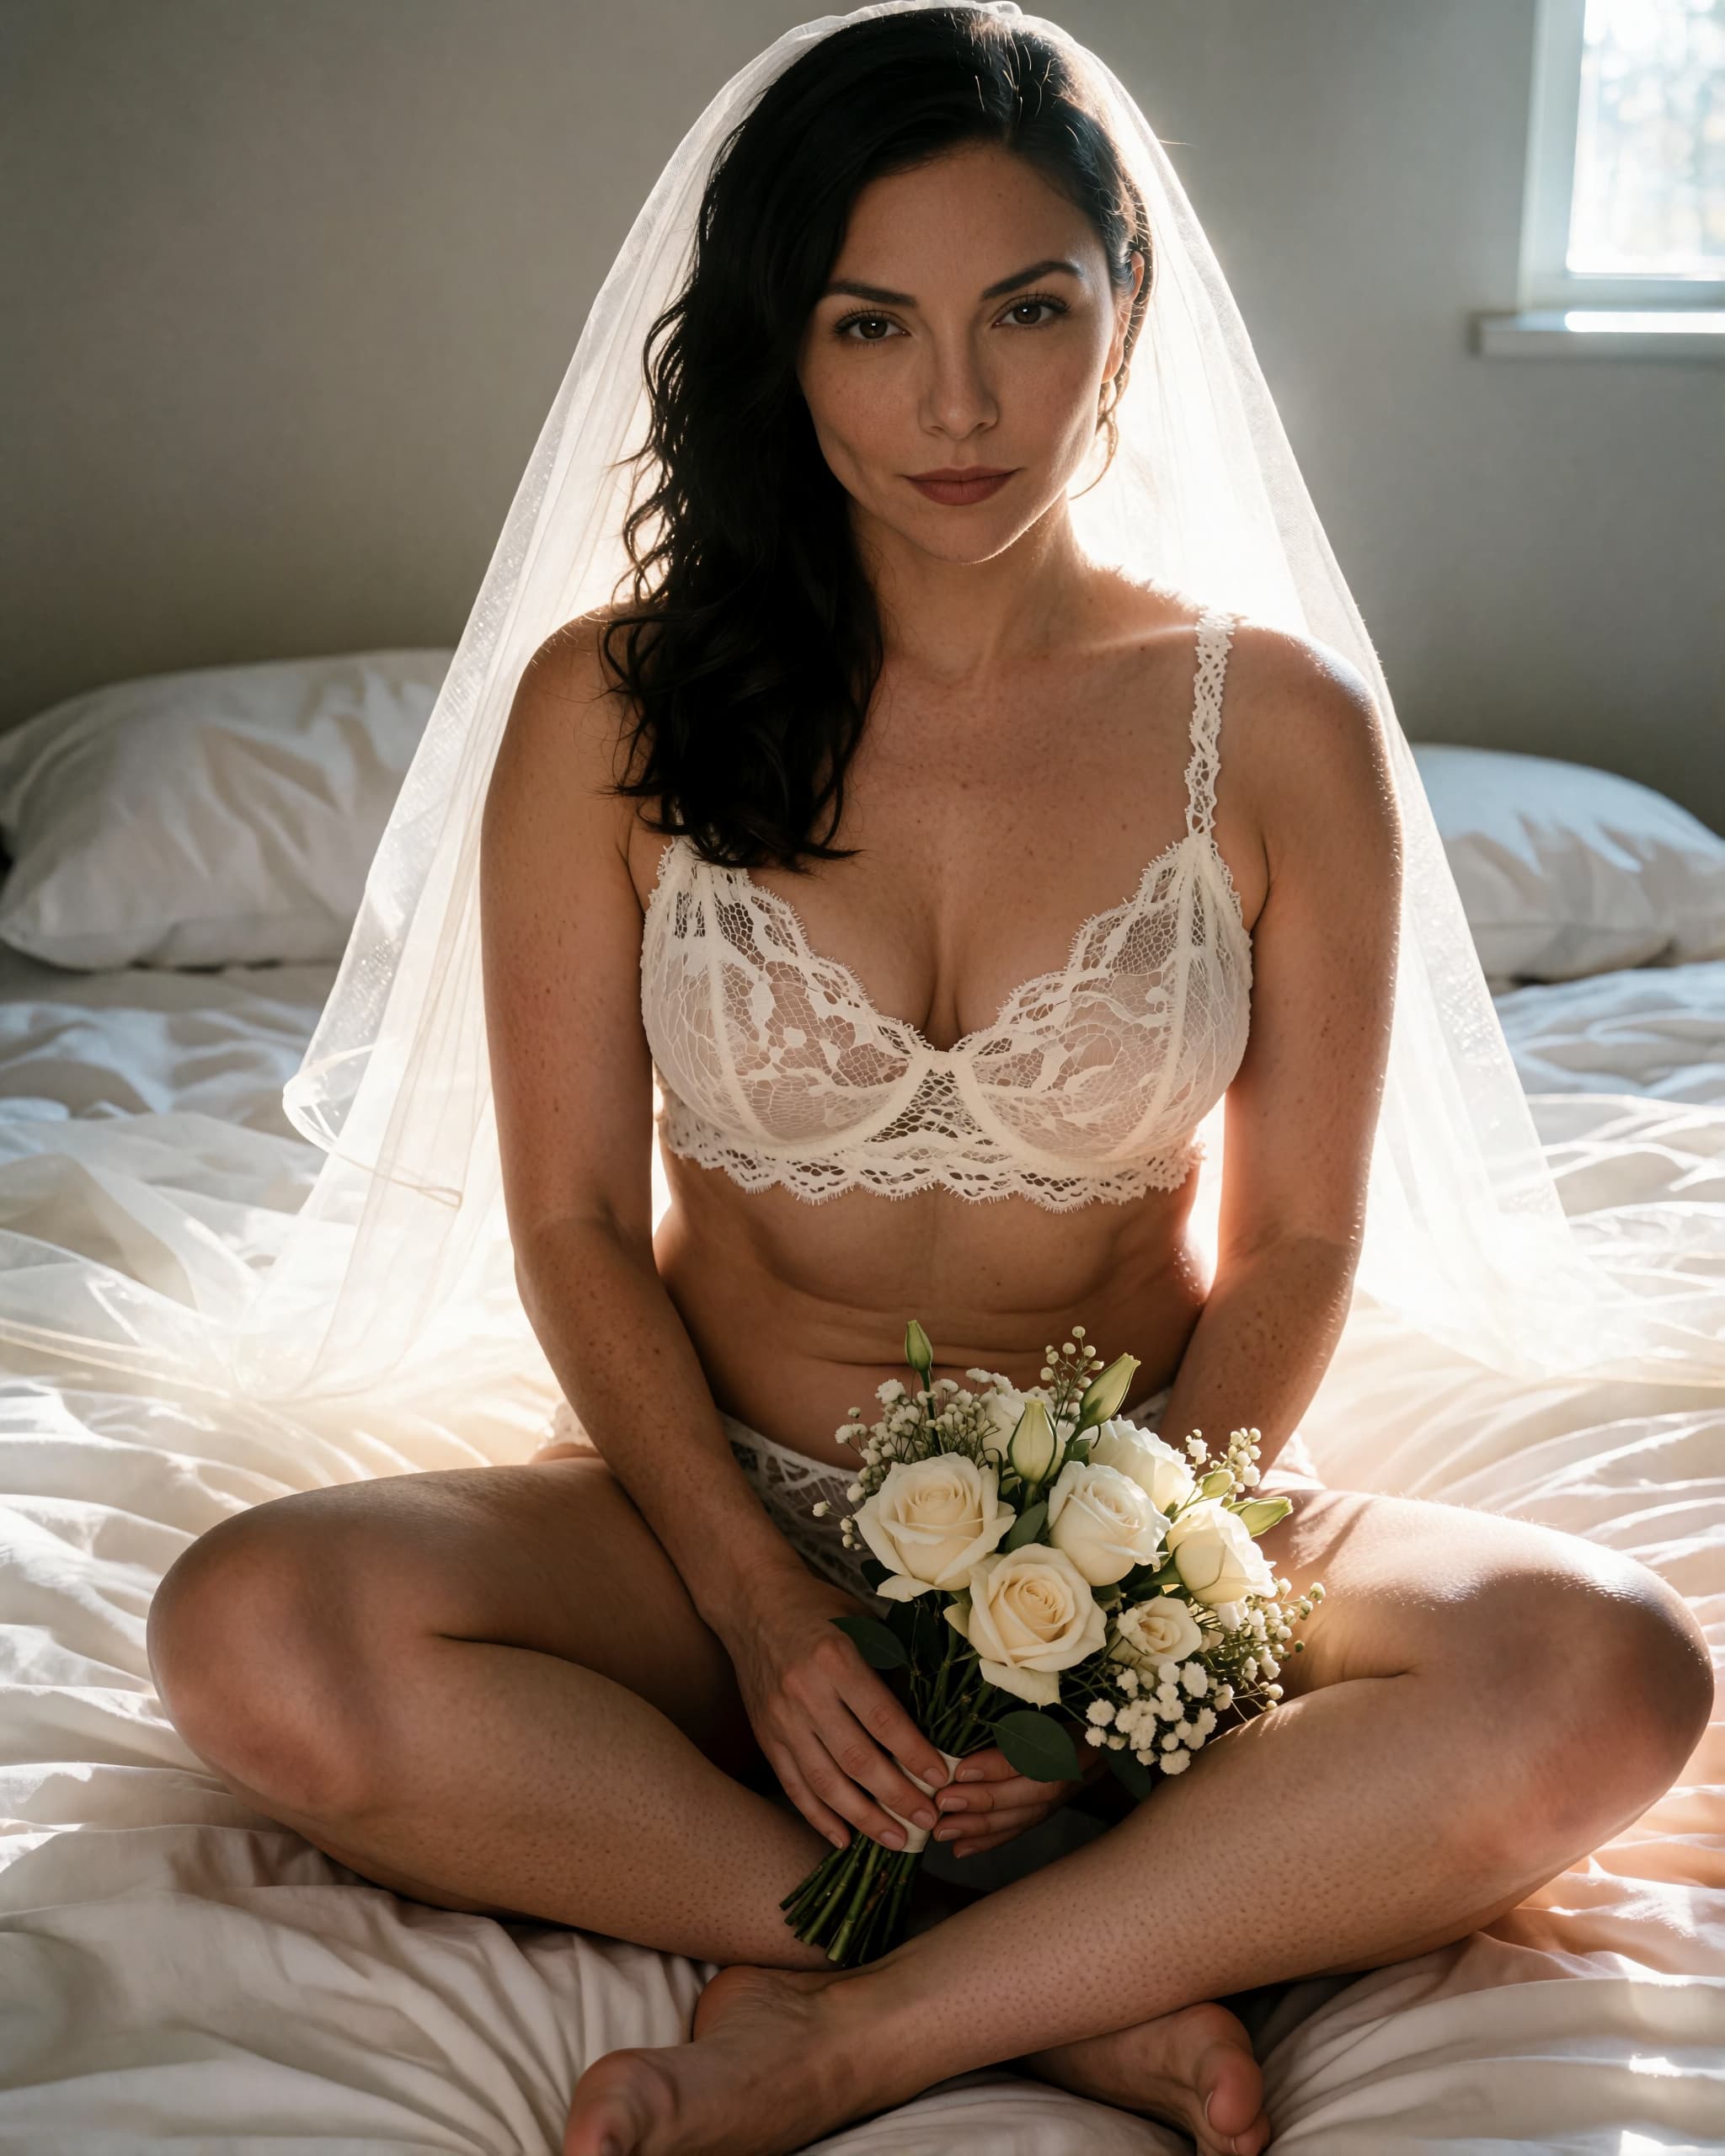
Lighting
- Any time after dark, which makes this the easiest look in the library to plan: no weather to wait for and no hour to catch. Pick an evening when the room will be yours.
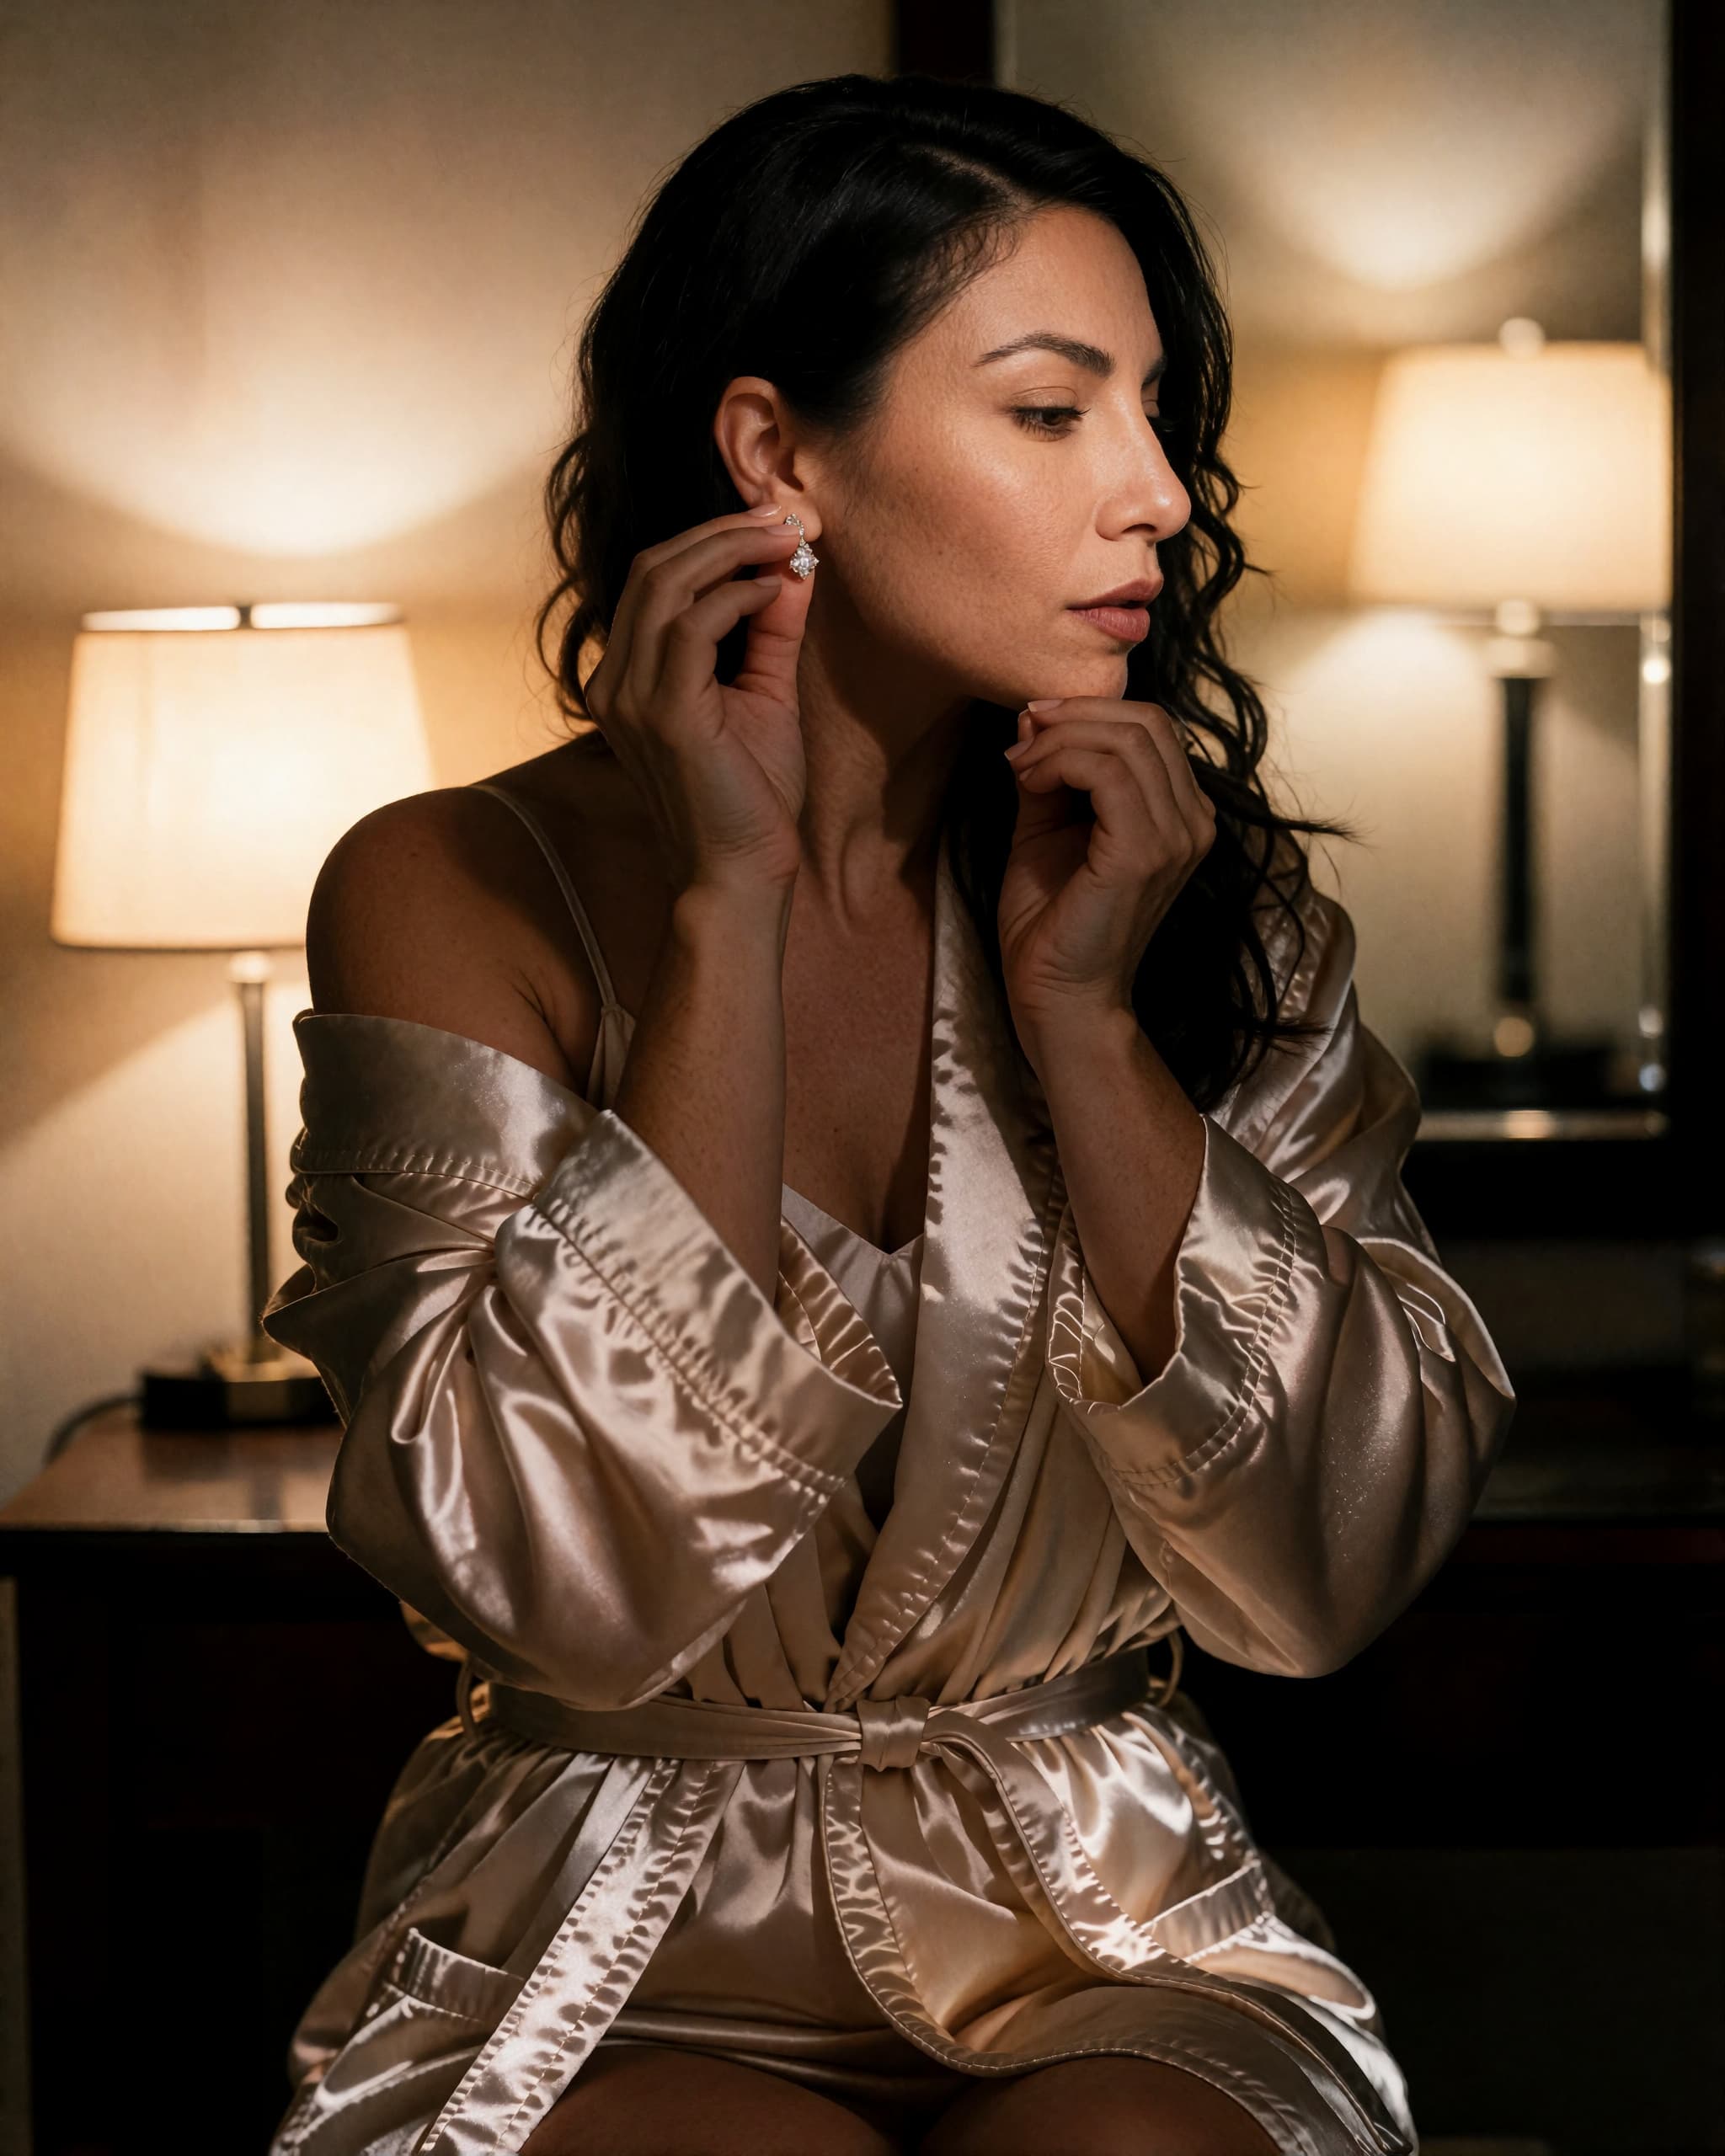
- Use one lamp and nothing else. A bedside lamp with a warm bulb and its shade on is exactly right; the overheads go off, and so does everything else in the room.
- Put the lamp low and to one side of you, fairly close, so the light rakes sideways across you rather than falling down onto you. That shallow, sideways angle is what shows texture — lace, skin, the line of a shoulder — and overhead light flattens all of it.
- If the bulb is bare or harsh, clip a white pillowcase or a thin sheet over the shade to soften it, but keep the fabric well clear of a hot bulb.
- Let the far side of you fall into deep shadow and leave it there. A single lamp is meant to light part of you, and trying to fill the other side with a second lamp is what turns this look ordinary.
- Set the exposure — how bright or dark the picture comes out — off a stand-in, not off yourself: you cannot tap your own skin from behind the phone. Stand a cushion or a folded coat where you will be, tap the screen on its lamp-lit part, then ease the slider down a little so the lit skin glows rather than burns out.
- Lamplight is dimmer than it feels, so the phone will capture more slowly than usual. Hold still through the frame and take plenty — some will be sharper than others, and that is normal rather than a fault.
Posing
- Sit on the front edge of the stool rather than back in it. Perching keeps your back long; sinking in rounds it, and a rounded back is the thing that makes a seated frame look slumped.
- Let your weight settle onto one hip instead of sitting evenly on both. It is the seated version of standing on one leg, and it does the same work.
- Angle your knees across the frame and away from the lens — never point them straight at it. Knees aimed at the camera foreshorten the legs; knees turned a quarter away lengthen them.
- Lengthen your spine as though someone were pulling gently upwards on the crown of your head, then let your shoulders roll back and drop. Do the lengthening first and the dropping second; the other order just lifts the shoulders.
- Lean forward a little from the hips. That forward lean is most of the trick: it opens the collarbones, lengthens the neck and reads as ease rather than as effort.
- Keep your elbows and upper arms an inch clear of your ribs — elbows on your knees, a hand resting on the stool beside you, a forearm draped along the back of the seat if it has one. An arm laid flat against your side and the line of your body read as one shape in the frame; the inch of daylight is what keeps them as two.
- Give your hands a real task rather than a position: cradle a mug in both hands, clasp them loosely between your knees, gather a hem, rest them in your lap, reach one toward your hair. A task looks like a moment; a placement looks like a pose.
- Bring your chin forward and slightly down toward whatever you are looking at, rather than lifting it straight up. Forward-and-down keeps the jawline clean and stops the neck from disappearing.
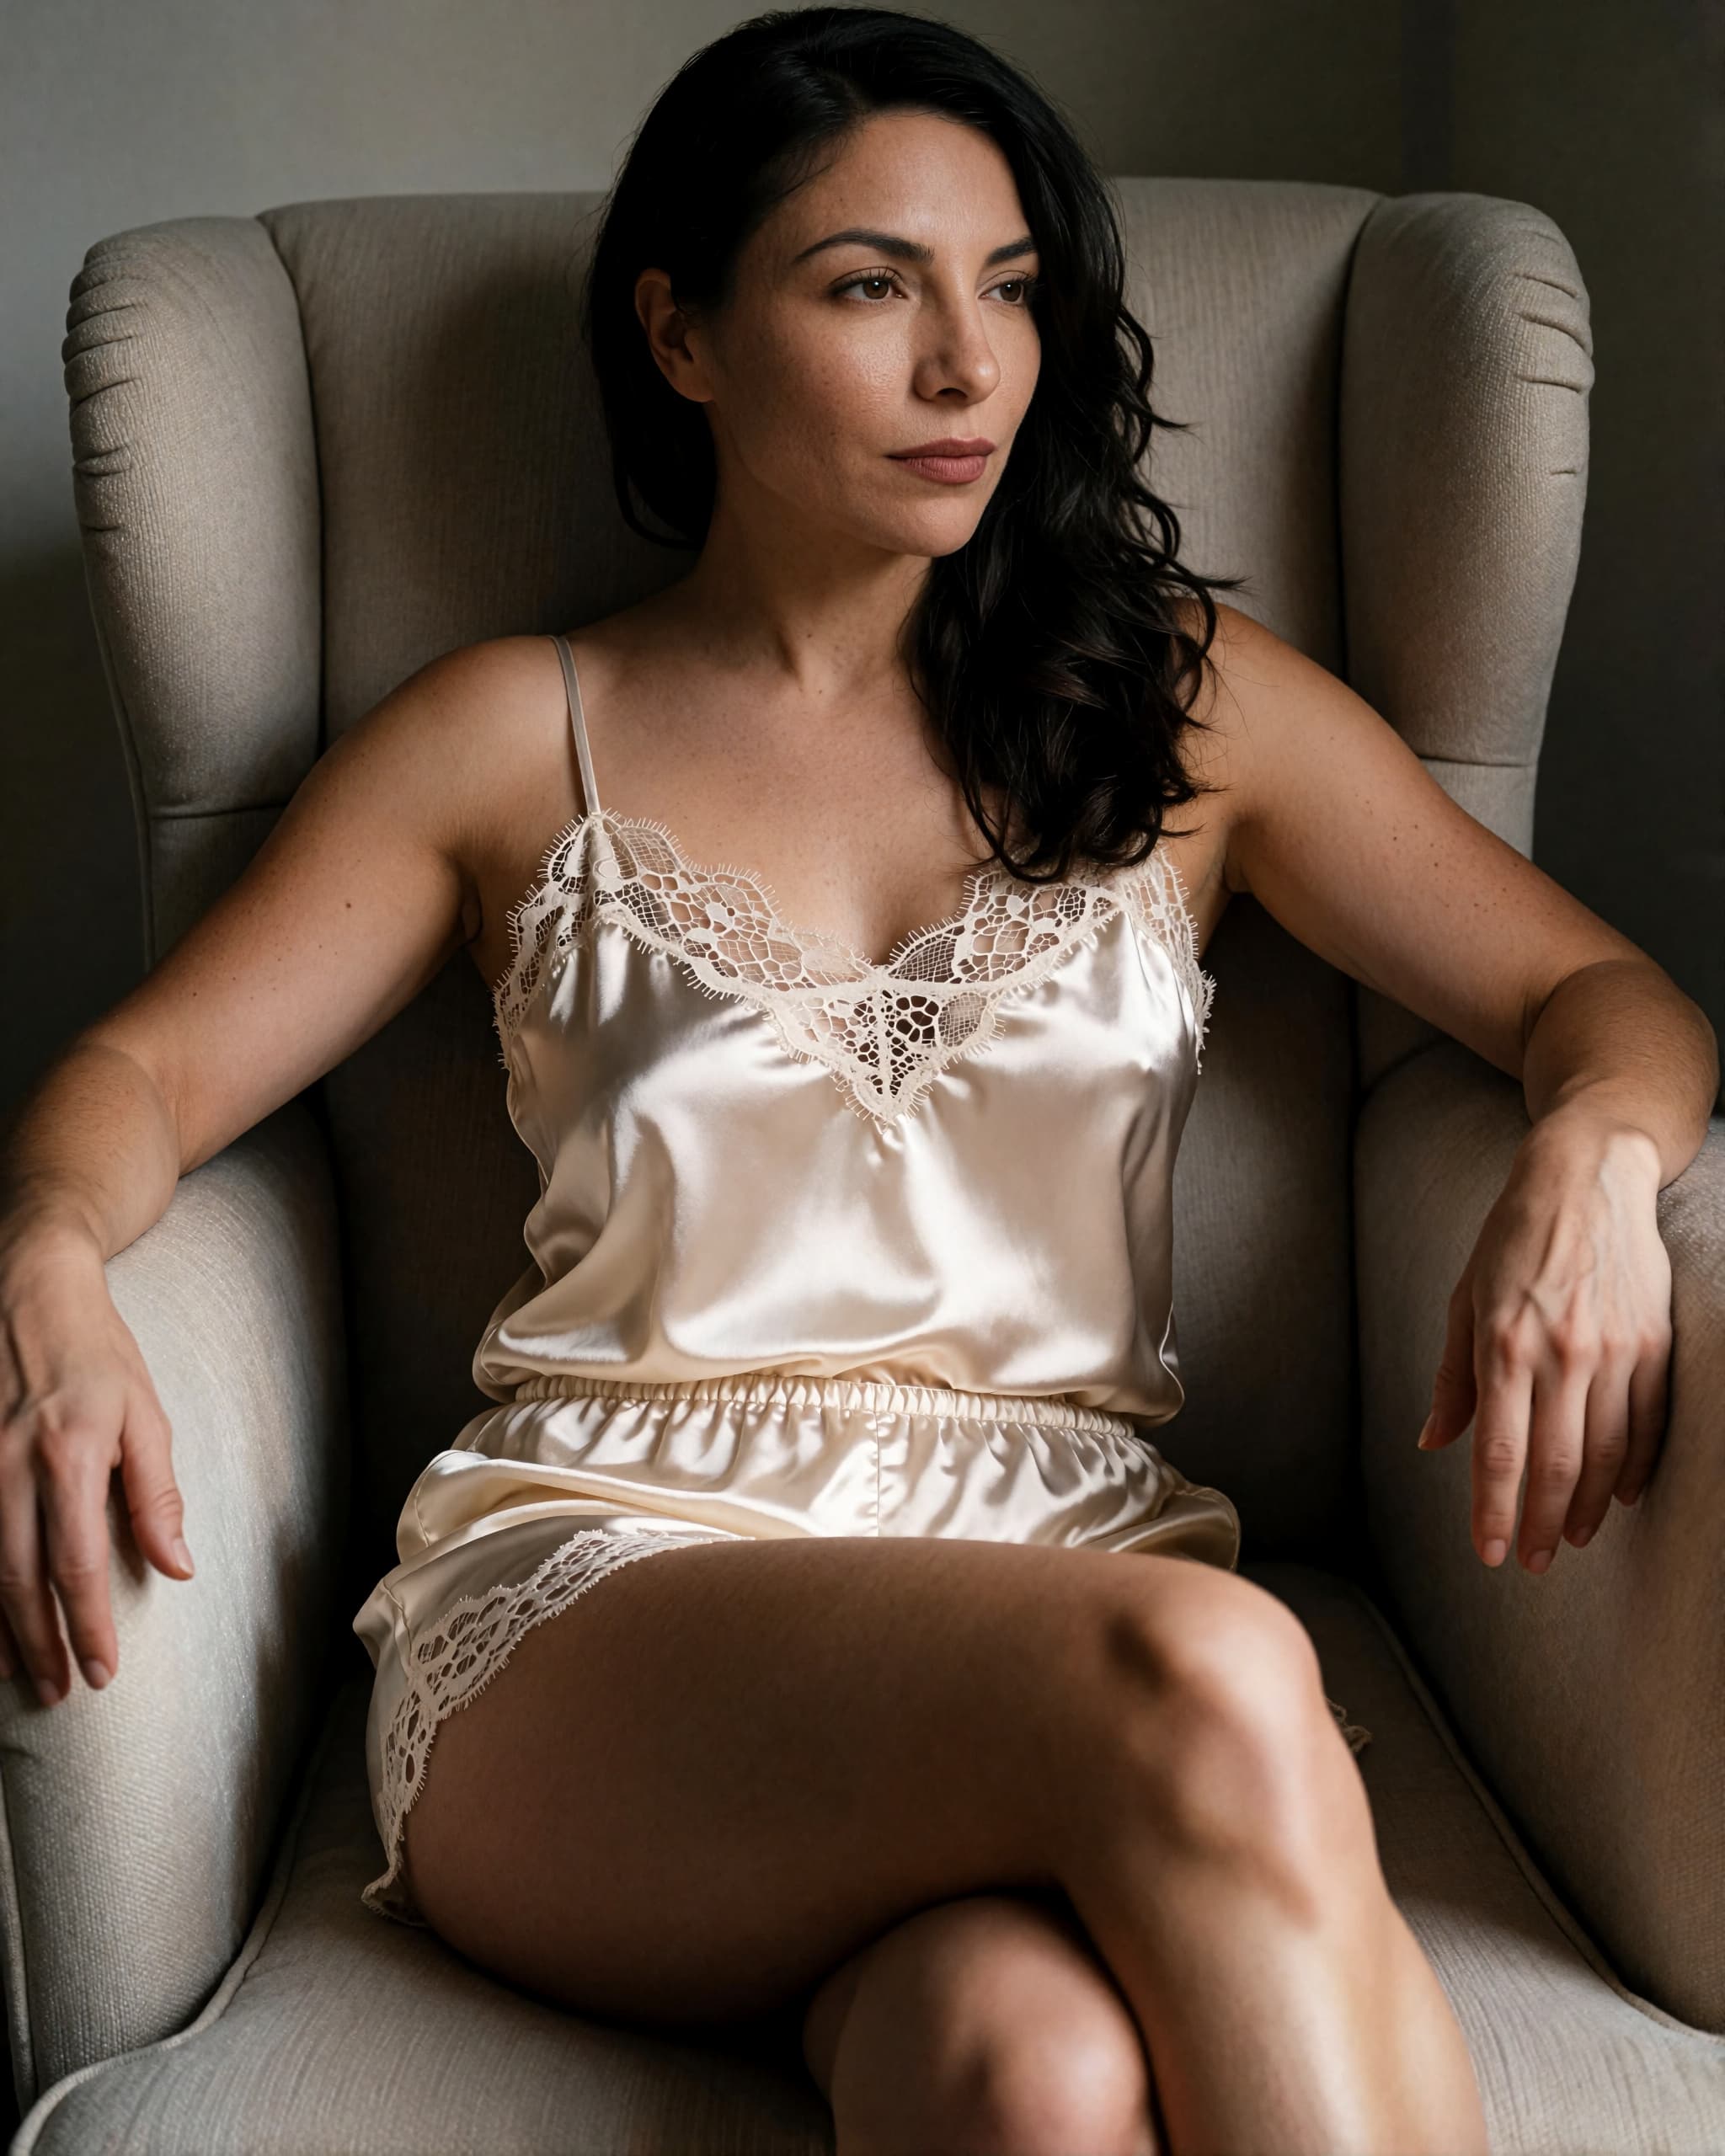
- If the seat has a back, use it: turn side-on to it, or sit facing it and fold your forearms along the top. Having something to lean into removes the balancing and makes a long run of frames far easier.
- Choose one place to look before the timer starts — down the lens, off toward the light, into your own lap — and stay there for the whole run.
- Breathe out as the picture is taken. Seated frames stiffen faster than any other kind, and the exhale is what unlocks the shoulders.
- Between frames, change one thing: uncross and recross the legs the other way, swap which hip carries the weight, move a hand. Small changes across a run give you a set to choose from rather than one repeated frame.
Coming with free accounts: saving this look to your favourites, dropping it straight into a shoot plan, and pose notes adjusted to your space and comfort level. Until then, the recipe above is the whole thing — print it, or keep it open on your phone. Grab the free checklist and we'll email you the moment accounts open.